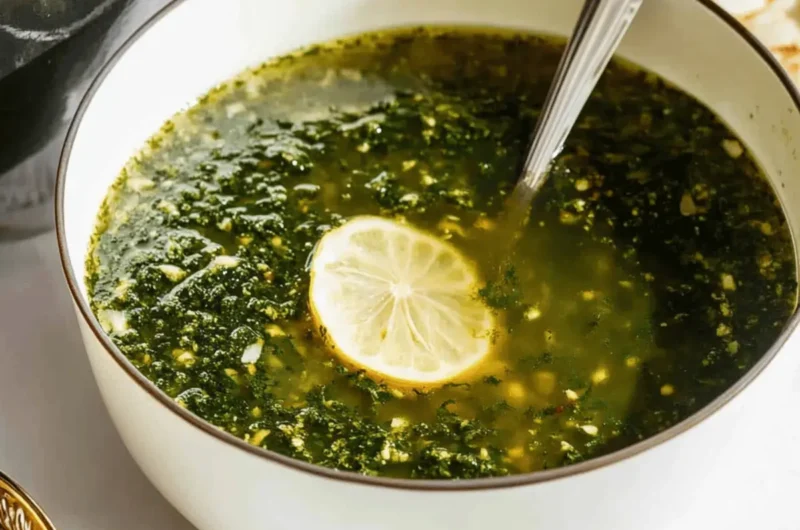
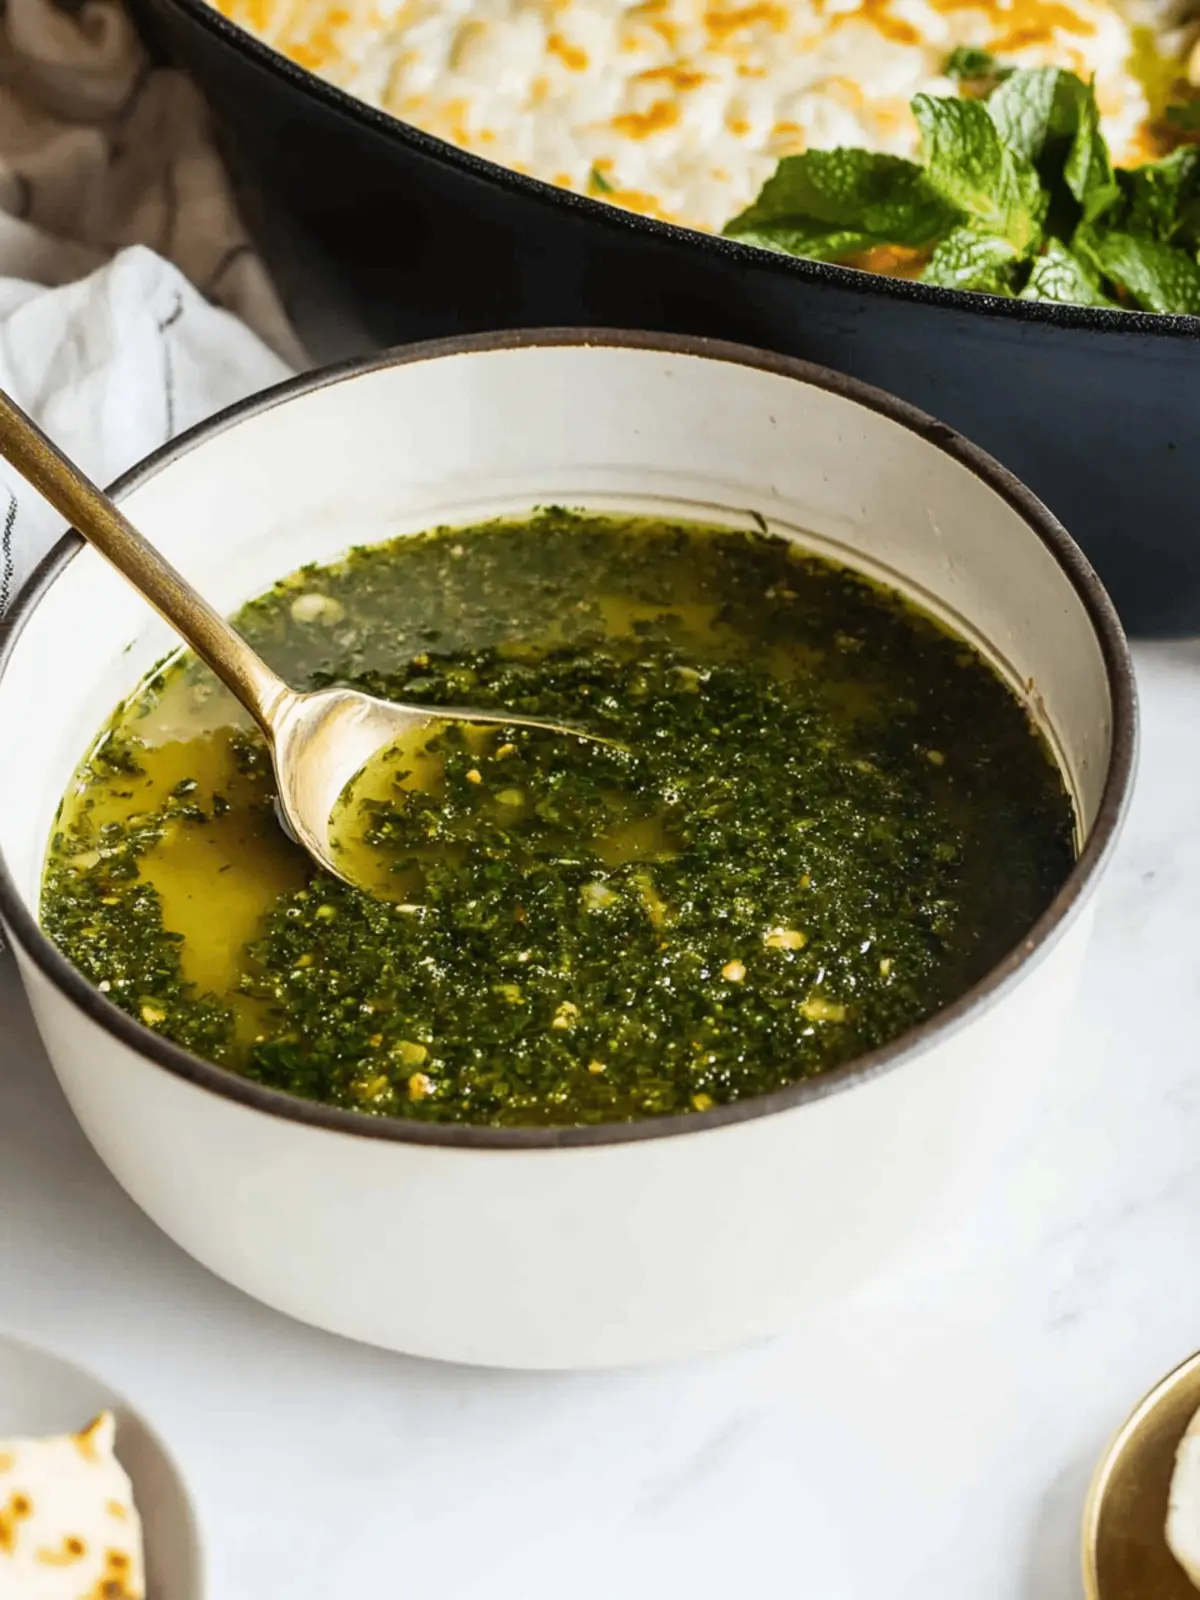
There’s something truly enchanting about the process of creating a dish that warms both the heart and the soul. When I first encountered molokhia, I was captivated by its vibrant green leaves and the rich, garlicky aroma that enveloped my kitchen the moment I started cooking. This dish is a beautiful blend of flavors—earthy molokhia and fragrant spices—that remind me of cozy gatherings and shared meals.
As I sautéed the garlic, the sizzle brought memories of family dinners and laughter around the table, where every spoonful felt like a hug from the inside. On busy nights when fast food just won’t cut it, molokhia serves as a reminder that homemade goodness can be quick and flavorful without compromising on nutrition. Whether served alongside warm bread or fluffy rice, this dish is a celebration of simplicity and comfort.
Join me on this culinary journey to uncover the secret behind this cherished recipe, and let’s transform fresh molokhia into a delightful feast that even the busiest among us can master.
Why is Mulukhiya so special?
Nostalgic flavors come alive as you prepare this dish, evoking memories of vibrant family gatherings around the table. Quick and easy, it fits perfectly into busy lifestyles, allowing you to whip up a homemade meal in no time. Nutrient-packed, molokhia is rich in vitamins, making it a healthy choice for any diet. Versatile enough to pair with rice or bread, it adapts to your preferences effortlessly. This comforting Middle Eastern classic is sure to please even the pickiest eaters, turning ordinary meals into extraordinary experiences.
Mulukhiya Ingredients
Get ready to create a comforting feast!
For the Molokhia
• Molokhia leaves – 1 pound, fresh or frozen; packed with nutrients, this is the star of your dish!
For the Flavor Base
• Butter – 3 tablespoons; adds rich, creamy flavor that enhances the dish.
• Garlic – 5 cloves, minced with a mortar and pestle; fresh garlic creates an aromatic depth that makes your kitchen smell divine.
• Ground coriander – 1 teaspoon; adds warmth and a slight citrusy note to the molokhiya.
For the Broth
• Chicken or vegetable broth – 3 cups; serves as the flavorful liquid base, enriching the molokhiya experience.
• Additional coriander – 1/2 teaspoon; boosts the herbal essence of your broth.
• Salt and black pepper – to taste; essential for enhancing all the flavors in the dish.
For Serving
• Cooked rice or bread – your choice; the perfect accompaniments to soak up the deliciousness of the molokhiya!
This mulukhiya recipe combines simple ingredients to create a dish that is not only comforting but also bursting with flavor. Enjoy cooking!
How to Make Mulukhiya
-
Melt the Butter: In a saucepan, melt the butter over medium heat, allowing it to bubble softly and release a rich aroma.
-
Sauté the Garlic: Add the minced garlic and sauté until fragrant, about 2 minutes. You want the garlic to turn golden without burning.
-
Add Ground Coriander: Stir in the ground coriander and continue to cook for another minute, allowing the spices to bloom and fill your kitchen with warmth.
-
Pour in the Broth: Carefully pour in the chicken or vegetable broth and add the additional 1/2 teaspoon of coriander. This will create a savory foundation for your mulukhiya.
-
Bring to a Simmer: Bring the mixture to a gentle simmer, letting the flavors meld together beautifully.
-
Add Molokhia Leaves: Now, stir in the molokhia leaves. Cook until they are tender, about 5–7 minutes, while seasoning with salt and black pepper to taste.
-
Serve and Enjoy: Serve the mulukhiya warm alongside cooked rice or bread, encouraging everyone to dive in and savor the rich, comforting flavors.
Optional: Garnish with a sprinkle of fresh cilantro for a vibrant touch.
Exact quantities are listed in the recipe card below.
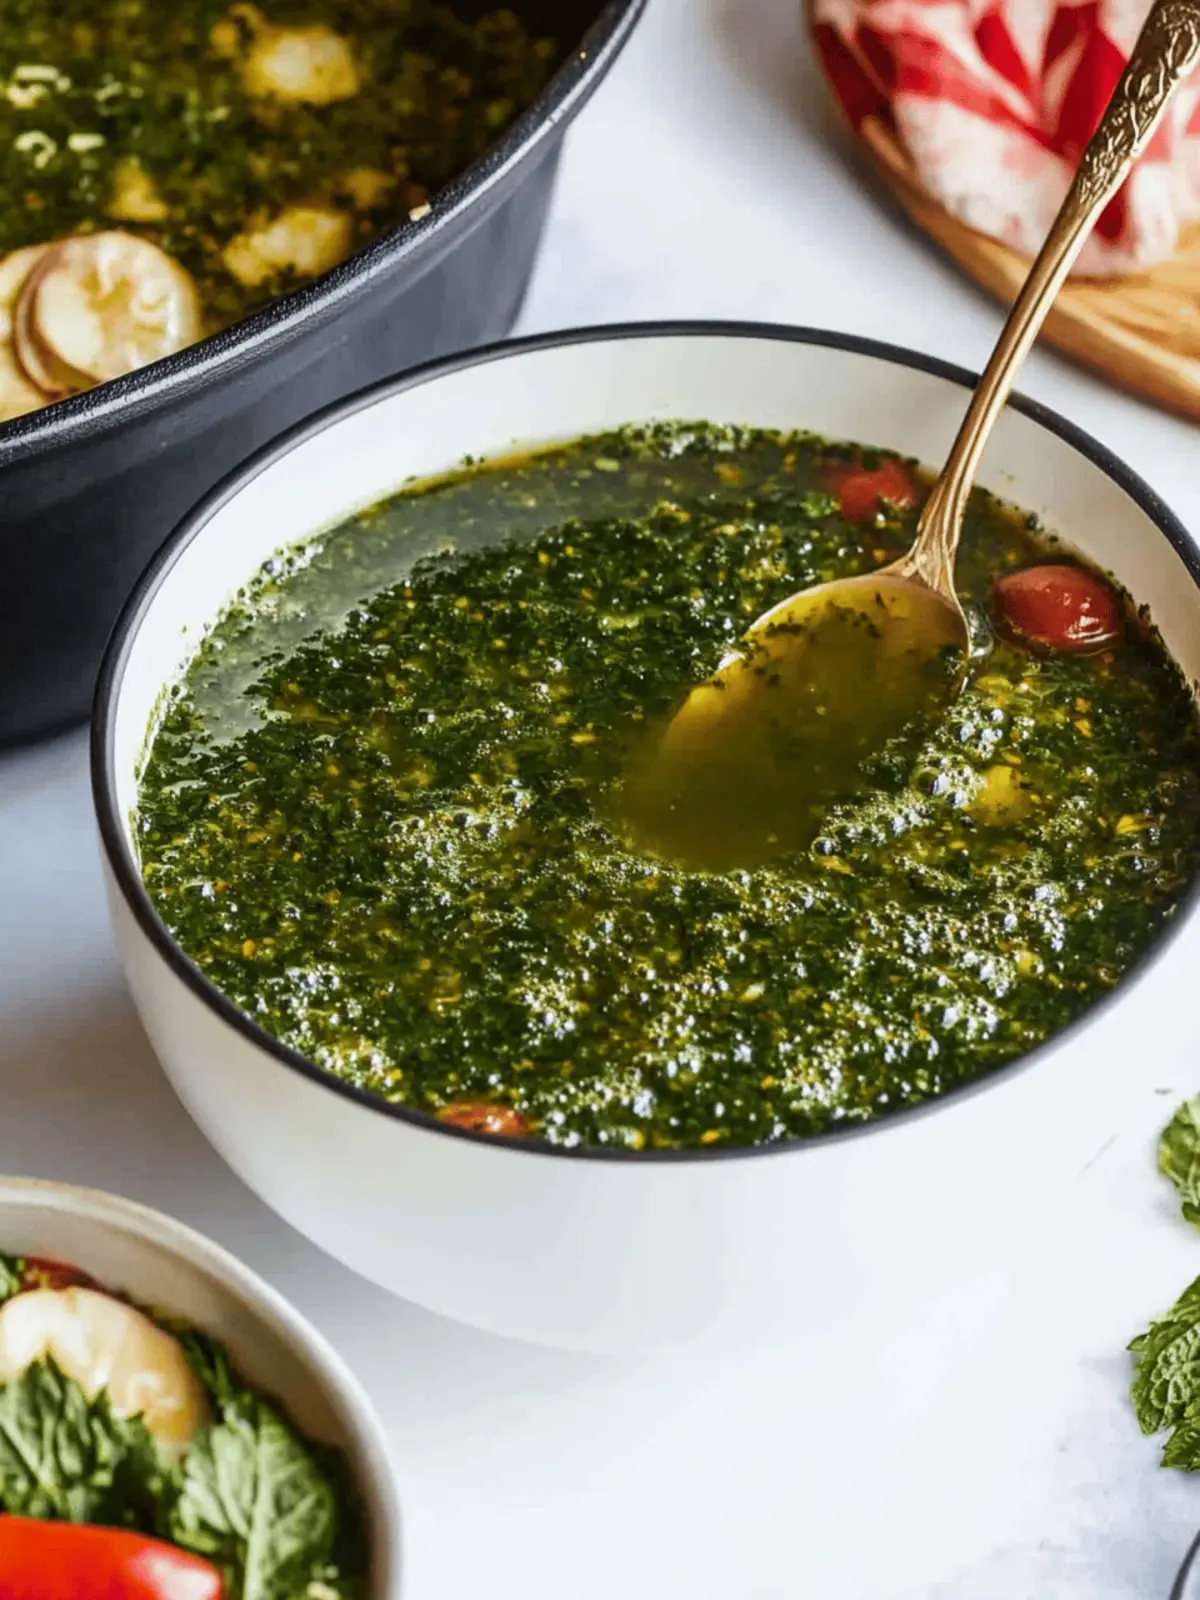
Make Ahead Options
These delightful mulukhiya leaves are perfect for meal prep enthusiasts! You can wash and chop the molokhia leaves up to 24 hours in advance, storing them in a sealed container in the refrigerator to keep them fresh and vibrant. Additionally, you can prepare the garlic and spices (butter, garlic, and ground coriander) the day before and keep them in an airtight container. To maintain the flavor, sauté the garlic just before you add the broth and molokhia leaves on the day of serving. When you’re ready to enjoy, simply combine the prepared ingredients in a pot, heat through, and serve with your favorite rice or bread for a comforting meal with minimal effort. Just like that, you’ll have a nourishing dish ready to warm your heart and soul!
How to Store and Freeze Mulukhiya
Fridge: Store leftover mulukhiya in an airtight container for up to 3 days. This ensures the vibrant flavors remain intact while keeping it fresh.
Freezer: For longer storage, freeze mulukhiya in a freezer-safe container for up to 2 months. Portion it out for easy reheating later!
Reheating: Thaw frozen mulukhiya in the fridge overnight, then reheat gently on the stove over low heat. Add a splash of broth or water to restore the desired consistency.
Meal Prep: Consider cooking a double batch of mulukhiya; it makes for an easy and nutritious meal prep option for busy weeknights!
Mulukhiya Variations
Feel free to explore these delightful twists that awaken the senses and elevate your molokhia!
-
Vegan: Substitute butter with olive oil and use vegetable broth for a plant-based delight that still packs a savory punch.
-
Herbal Infusion: Add fresh herbs like cilantro or mint to enhance the dish with flavorful freshness. It will bring a lovely brightness to each spoonful.
-
Spicy Kick: Incorporate red pepper flakes or a diced chili pepper for a bold heat that complements the rich garlic flavor beautifully. Spice lovers will rejoice!
-
Nutty Addition: Toss in toasted pine nuts or walnuts just before serving to add a lovely crunch that contrasts the soft molokhia.
-
Creamy Texture: Stir in a splash of coconut milk for a soothing, creamy variation that enriches the dish with a subtle sweetness.
-
Protein Boost: Add shredded rotisserie chicken or chickpeas for extra protein, turning this comforting dish into a heartier meal that is satisfying.
-
Citrusy Zing: Squeeze some lemon juice or add lemon zest at the end of cooking to awaken the flavors with refreshing acidity.
-
Mushroom Medley: Sauté some chopped mushrooms with the garlic for an earthy depth that transforms the profile of your molokhia. Their umami goodness is simply irresistible!
What to Serve with Mulukhiya?
A warm bowl of molokhia warms the heart, and pairing it with the right sides can enhance its delightful flavors.
-
Fluffy Rice: Perfect for soaking up the rich broth, rice adds a comforting base that balances the molokhia’s vibrant flavors beautifully.
-
Fresh Pita Bread: Soft and warm, pita is the ideal instrument for scooping up molokhia, making each bite a delightful, interactive experience.
-
Crispy Fried Eggplant: The creamy texture of fried eggplant complements the earthy tones of molokhia, creating a satisfying contrast that elevates the meal.
-
Garlic Lemon Salad: A zesty, fresh salad adds brightness and a crunchy dimension, perfectly balancing the richness of the molokhia.
-
Pickled Vegetables: The tangy crunch of pickled vegetables introduces a lively acidity that cuts through the dish’s richness, enhancing each flavor note.
-
Mint Tea: This refreshing beverage offers a cooling contrast to the warmth of the molokhia, creating a well-rounded dining experience.
-
Date and Nut Rolls: A sweet end to the meal, these bites offer a chewy texture and natural sweetness that provide a pleasant finish after the rich flavors of molokhia.
Expert Tips for Mulukhiya
-
Freshness Matters: Use fresh molokhia if possible; it enhances the flavor and texture significantly, making your dish more vibrant and exciting.
-
Don’t Rush Garlic: Sauté garlic until just golden; overcooking it can lead to bitterness, ruining the delicate balance of flavors in your mulukhiya.
-
Adjust Consistency: If you prefer a thicker texture, let the mulokhia simmer a little longer, allowing it to reduce and intensify the flavor.
-
Season Gradually: Start with salt and pepper but taste as you go; seasoning gradually prevents over-salting and ensures a well-rounded dish.
-
Serve Warm: Mulokhiya is best enjoyed right after cooking. Serve it warm with rice or bread for maximum comfort and satisfaction.
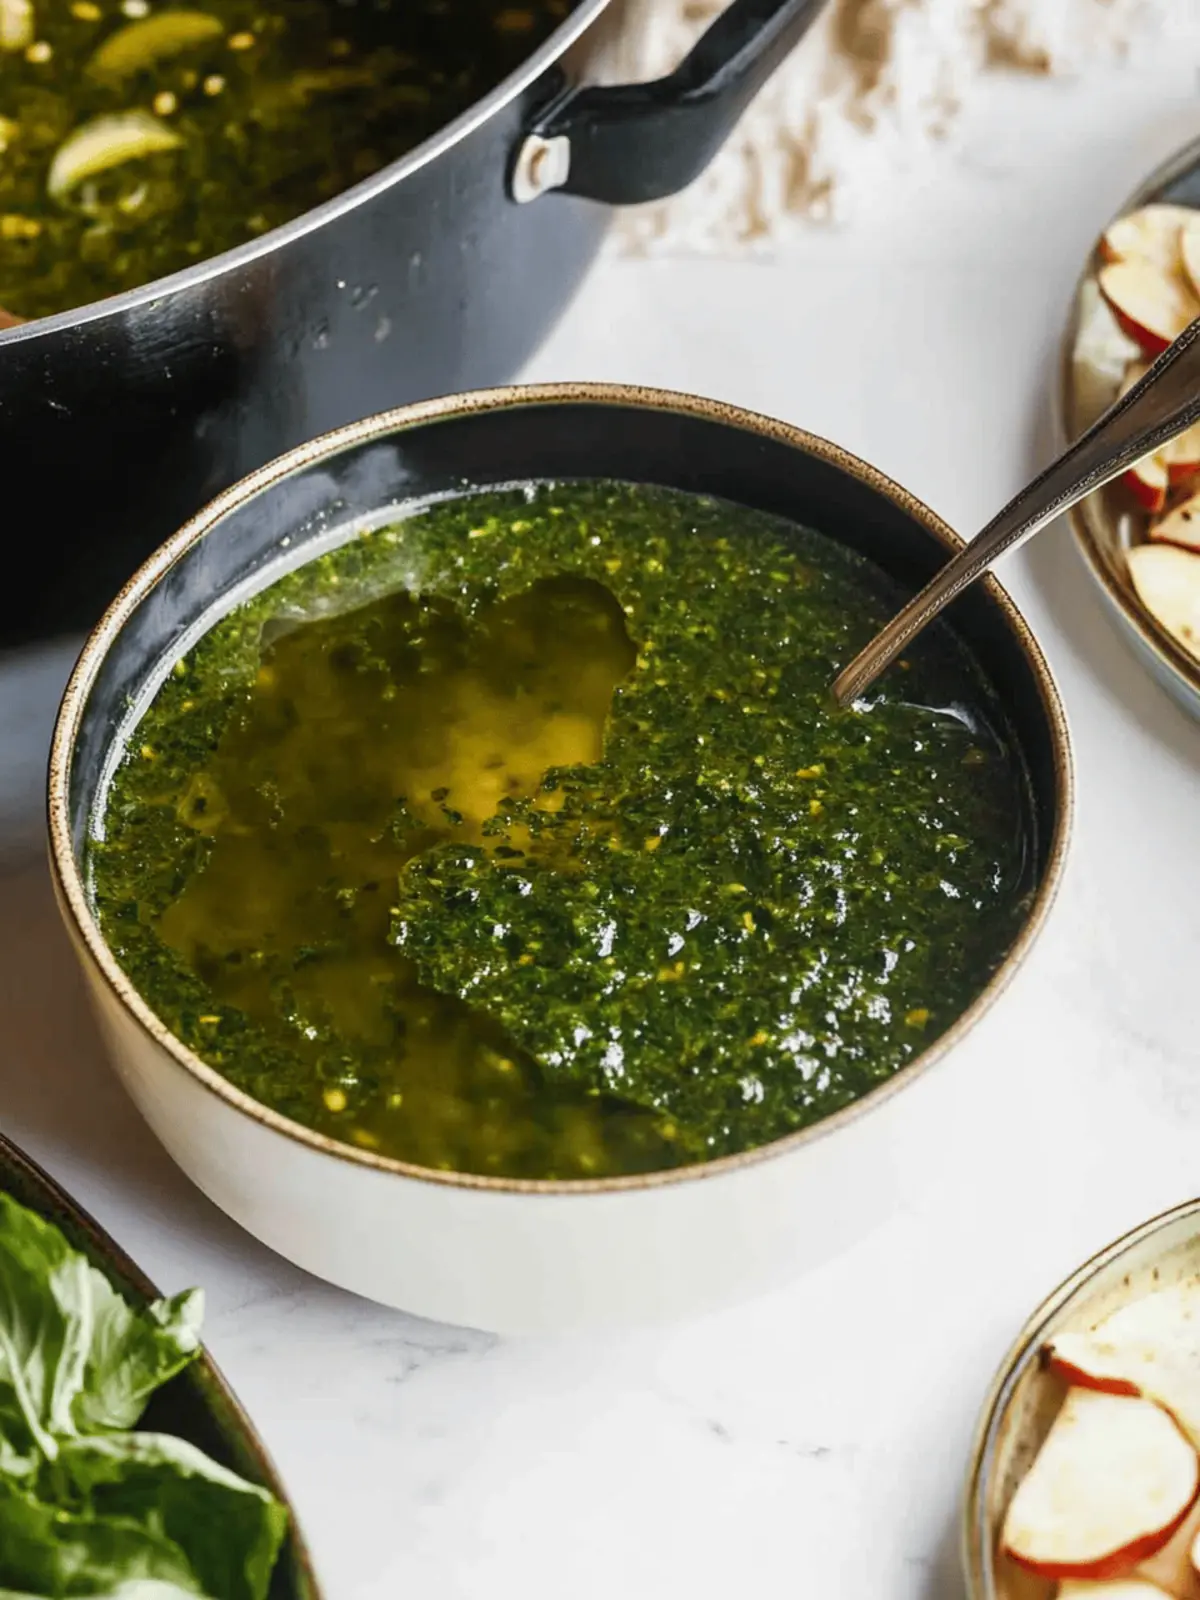
Mulokhiya Recipe FAQs
What is the best way to select molokhia leaves?
Absolutely! If you’re using fresh molokhia, look for vibrant green leaves without dark spots or wilting. Ideal leaves should be tender and fragrant. If you’re going for frozen, choose a brand with no added ingredients to ensure purity and flavor.
Advertisement
How long can I store leftover mulokhiya in the refrigerator?
You can keep leftover mulokhiya in an airtight container in the fridge for up to 3 days. Just make sure it’s completely cooled before sealing it up! This helps maintain its delicious taste and prevents spoilage.
Can I freeze mulokhia for later use?
Very! Freeze mulokhia in a freezer-safe container for up to 2 months. To do this, allow the dish to cool completely, then portion it out into containers or freezer bags. This way, you can easily reheat single servings whenever you crave a comforting meal.
What should I do if my molokhia is too thick after cooking?
If you find your mulokhia too thick, you can easily adjust the consistency! Simply add a splash of warm chicken or vegetable broth to the pot and stir well. Let it simmer on low heat for a few minutes. This will help loosen up the dish without compromising its flavors.
Is mulokhia suitable for those with dietary restrictions or allergies?
Absolutely! Mulokhia is vegan if you use vegetable broth. However, if you’re cooking for someone with allergies, be sure to check ingredient labels on the broth and spices, particularly coriander, as it may cause reactions in some individuals. Serve it with gluten-free bread or rice for a delightful option!
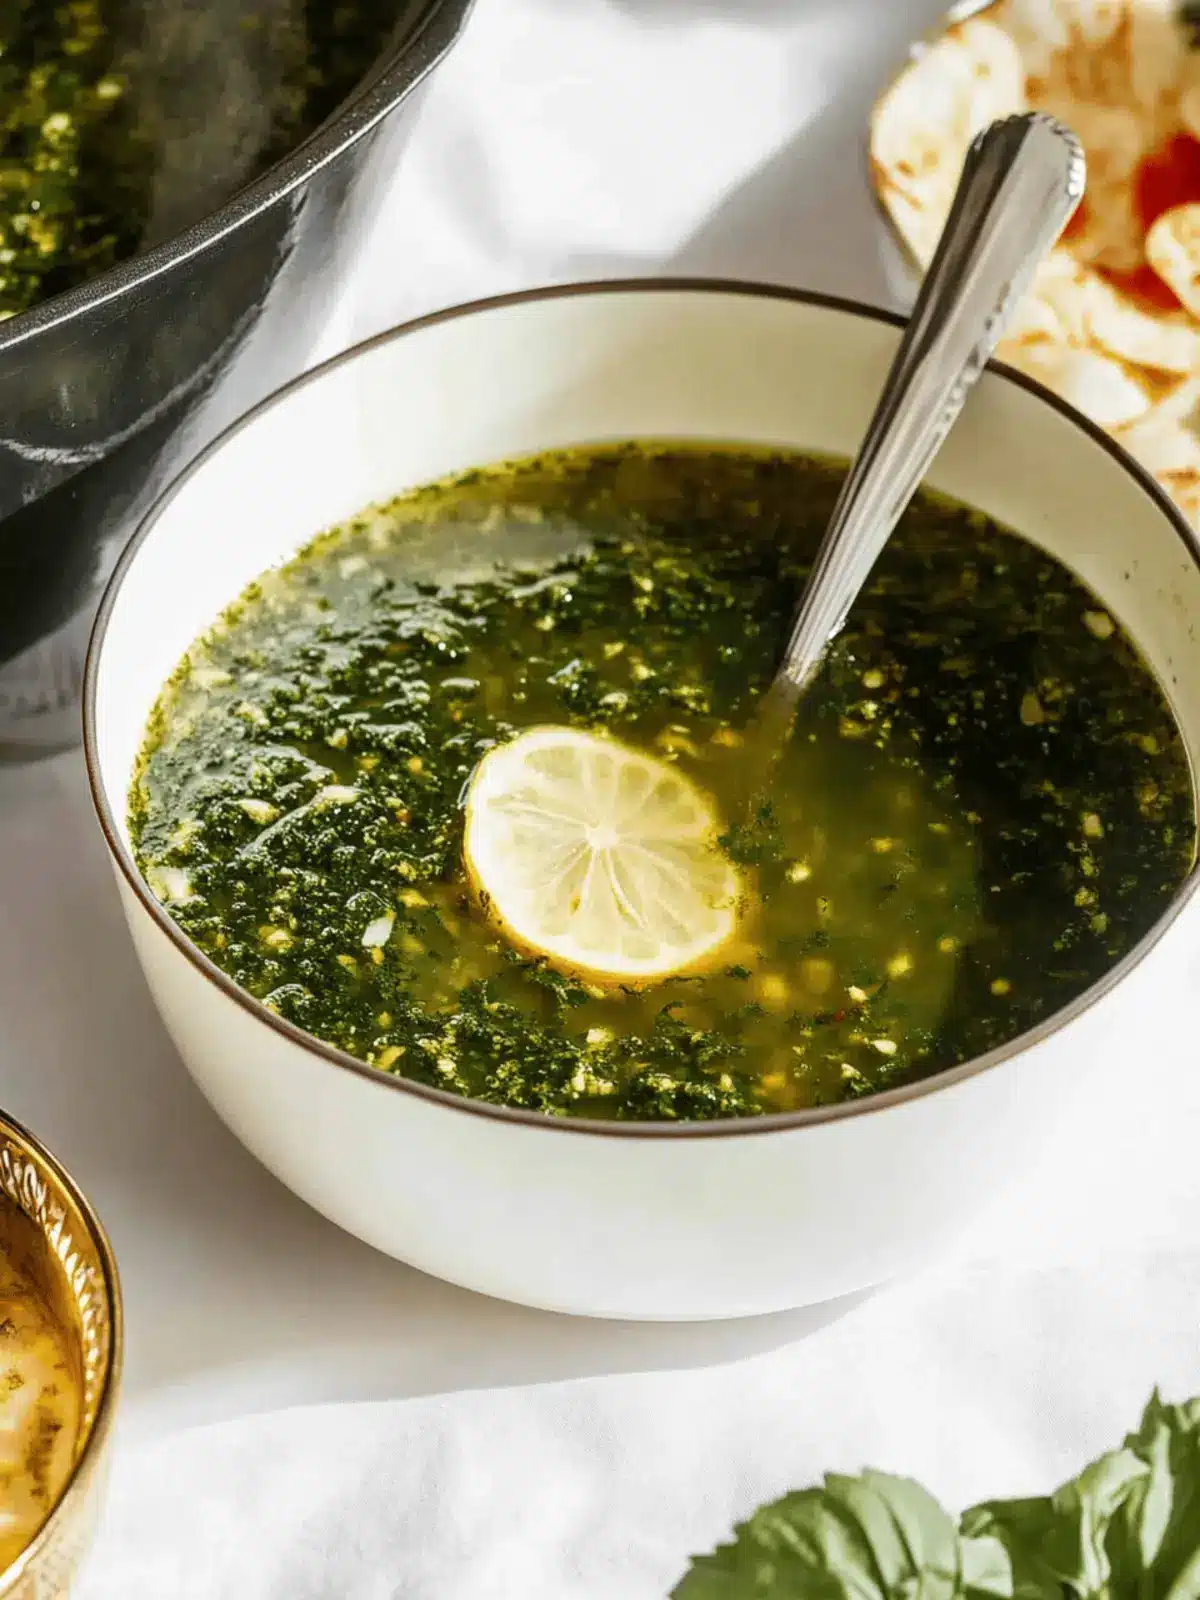
Delicious Mulukhiya: A Comforting Middle Eastern Classic
Ingredients
Equipment
Method
- In a saucepan, melt the butter over medium heat.
- Add the minced garlic and sauté until fragrant, about 2 minutes.
- Stir in the ground coriander and cook for another minute.
- Pour in the chicken or vegetable broth and add the additional coriander.
- Bring the mixture to a gentle simmer.
- Stir in the molokhia leaves and cook until tender, about 5–7 minutes.
- Season with salt and black pepper to taste.
- Serve the mulukhiya warm alongside cooked rice or bread.

