
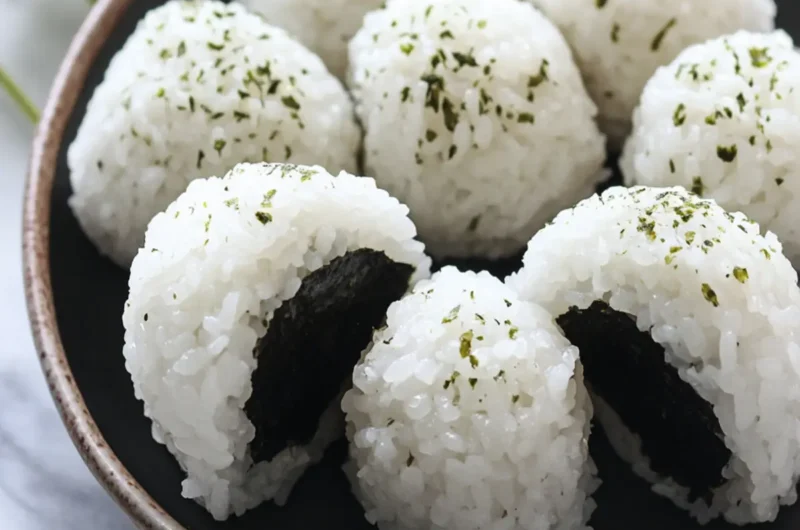
There’s something wonderfully nostalgic about rolling up your sleeves and making Onigiri, the beloved Japanese rice balls. As the sun filters gently through the kitchen window, I can’t help but be drawn back to family picnics where these tasty bites were the star of our lunch spread. Lightly seasoned rice enveloped in crispy nori creates a delightful contrast of textures that is simply irresistible.
This recipe is perfect for those days when you’re looking for a quick treat or a light meal that go beyond the ordinary fast-food options. What makes Onigiri especially charming is its versatility; you can fill it with anything you like, from the traditional umeboshi (pickled plum) to savory tuna or even crispy vegetables.
Whether you’re packing them for a picnic or enjoying them as a cozy snack at home, these Japanese rice balls offer a comforting and satisfying experience that will delight your taste buds and nourish your body. Let’s dive into creating these delightful morsels that are sure to bring a smile to your face!

Why are Japanese Rice Balls so popular?
Simplicity and Versatility: The beauty of Japanese rice balls lies in their easy preparation and adaptability to any filling.
Flavor Explosion: Combining textures of soft rice and crunchy nori results in a delightful bite every time.
Healthy Option: Enjoy guilt-free as they’re typically gluten-free and can be made vegetarian-friendly.
Crowd-Pleaser: Perfect for parties or family picnics, these bites will impress guests young and old.
Quick Snack: With minimal ingredients, whip up a batch in no time for an effortless snack or lunch.
Get started with this easy recipe and embrace the joy of homemade Japanese rice balls!
Japanese Rice Balls Ingredients
• Get ready to make your favorite snack!
For the Rice
- Cooked Rice – Use freshly cooked, slightly cooled medium or short grain rice for a perfect texture.
- Kosher Salt – Enhance the flavor; sprinkle a bit on your hands while forming the rice balls.
For the Seasoning
- Furikake – This flavorful Japanese seasoning elevates your rice; adjust the amount to suit your taste.
For Shaping
- Water – Dampen your hands to prevent the rice from sticking while shaping.
For the Wrapper
- Roasted Nori – A must-have for that crunchy exterior; cut into strips for easy wrapping.
For Garnishing
- Sesame Seeds – Optional, but they add delightful texture and visual appeal to your Japanese rice balls.
With these ingredients, you’re one step closer to enjoying a delightful snack or light lunch that captures the essence of traditional Onigiri!
How to Make Japanese Rice Balls
-
Prepare Rice: Begin by placing freshly cooked and slightly cooled medium or short grain rice into a mixing bowl. Sprinkle a generous amount of furikake over the rice and mix gently until evenly coated.
-
Wet Hands: Dampen your hands with a splash of water and sprinkle some kosher salt onto your palms. This will help prevent the rice from sticking to your hands while you shape the balls.
-
Shape Onigiri: Scoop about 1/2 cup of seasoned rice and gently form it into a triangle shape using your hands. Apply light pressure, ensuring the rice stays compact but not overly compressed.
-
Press and Finalize: For a defined shape, press your rice triangles against a cutting board. This step adds a lovely structure that will hold up beautifully when served.
-
Add Nori: Place a strip of roasted nori at the bottom of each rice triangle for that signature crunch. If desired, sprinkle some sesame seeds on top for added flavor and a nice presentation.
-
Serve: Enjoy your Japanese rice balls immediately for the best flavor and texture. If any are left over, wrap them individually in plastic to enjoy later—though they’re best eaten the same day!
Optional: Serve with a side of soy sauce or pickled ginger for a flavor twist!
Exact quantities are listed in the recipe card below.

Make Ahead Options
These Japanese rice balls are perfect for meal prep enthusiasts! You can prepare the seasoned rice and shape the onigiri up to 24 hours in advance to save time during busy weeks. Simply follow the recipe up until the shaping step, then wrap the rice balls individually in plastic wrap and store them in the refrigerator. To maintain their quality, it’s best to add the nori just before serving, as it will lose its crispness if left too long. When you’re ready to enjoy your onigiri, just unwrap them, wrap with nori, and they’re good to go! Enjoy the convenience of having these delicious snacks ready whenever you need a quick bite.
What to Serve with Onigiri?
Elevate your Onigiri experience with delightful sides that complement these charming Japanese rice balls and enhance your meal.
-
Soy Sauce: A classic dip that adds a salty umami punch, enhancing the flavor of your rice balls. A little drizzle goes a long way!
-
Pickled Ginger: This tangy, slightly sweet condiment refreshes the palate and balances the savory notes of the Onigiri, creating a delicious contrast.
-
Crispy Tempura Vegetables: Lightly battered, fried veggies offer a satisfying crunch, providing a delightful textural contrast to the soft rice.
-
Miso Soup: Warm and comforting, this traditional soup provides a rich, savory backdrop that pairs well with the flavors of Onigiri. It’s the perfect addition to a cozy meal.
-
Edamame: These lightly salted young soybeans bring a fresh, nutty flavor that complements the rice balls while adding an extra boost of protein.
-
Seaweed Salad: With its refreshing taste and chewy texture, it enhances the overall experience, echoing the flavors found in the nori wrapping of the Onigiri.
-
Japanese Green Tea: A soothing beverage that balances the savory elements of your meal, enriching the experience of enjoying homemade rice balls.
-
Fresh Fruit: A light dessert like sliced melon or strawberries offers a sweet, refreshing finish that cleanses the palate beautifully after savoring Onigiri.
Japanese Rice Balls Variations
Feel free to let your creativity shine as you customize your Onigiri with these delightful alternatives!
- Seafood Surprise: Swap tuna for crab meat or shrimp for a seafood twist that adds a new dimension of flavor.
- Vegetarian Delight: Replace traditional fillings with avocado or grilled vegetables for a fresh, tasty, veggie-packed option.
- Spicy Kick: Add a dash of sriracha or spicy mayo to your fillings for a zesty surprise that’s sure to thrill your taste buds!
- Sweet Twist: Try sweet fillings like cherry blossoms or sweetened red bean paste for a delightful dessert version that dances on the palate.
- Herb Infusion: Mix in finely chopped herbs like cilantro or mint into your rice for an aromatic, flavor-rich experience that’s wonderfully refreshing.
- Protein Boost: Stuff your Onigiri with scrambled eggs or marinated tofu for a more hearty snack that packs an extra protein punch.
- Nutty Finish: Sprinkle some crushed peanuts or walnuts inside for a delightful crunch and an unexpected layers of flavor.
- Regional Flavors: Experiment with regional fillings such as kimchi or pickled vegetables to create unique, fusion-inspired rice balls.
With these variations, your Onigiri will never be boring—each bite will invite a new discovery, making snack time that much more enjoyable!
Helpful Tricks for Japanese Rice Balls
-
Cooling Rice: Let your rice cool slightly before handling; hot rice can make it difficult to shape and could burn your hands.
-
Rice Type Matters: For the best texture, always opt for medium or short grain rice. Other types, like jasmine or long grain, won’t hold properly.
-
Use Molds: Consider using Onigiri molds for consistent shapes. This can simplify the shaping process and ensure your rice balls look uniform.
-
Watch the Water: When wetting your hands, use just enough water to prevent sticking. Too much can make the rice mushy and difficult to shape.
-
Filling Choices: Feel free to experiment with fillings! Avoid overly wet ingredients as they can make your Japanese rice balls soggy. Stick with drier ingredients for best results.
How to Store and Freeze Japanese Rice Balls
Fridge: Store leftover Japanese rice balls wrapped in plastic wrap to maintain moisture, consuming them within 1–2 days for optimal taste and freshness.
Freezer: For longer storage, freeze individual Onigiri wrapped tightly in plastic wrap and then place in freezer bags. They can last up to 3 months.
Reheating: To enjoy frozen Onigiri, simply thaw in the refrigerator overnight and then microwave briefly (about 10-20 seconds) to warm them up gently—this helps retain their delightful texture.
Room Temperature: If serving at a gathering, keep Japanese rice balls at room temperature for up to 1 hour; they are best enjoyed fresh!

Japanese Rice Balls Recipe FAQs
What type of rice is best for making Japanese rice balls?
For the best results, always use medium or short grain rice, as it provides the perfect sticky texture needed to hold the rice balls together. Other types, like jasmine or long grain rice, may cause the Onigiri to fall apart.
How long can I store Japanese rice balls in the fridge?
You can store leftover Japanese rice balls wrapped in plastic wrap for 1–2 days in the refrigerator. Enjoy them within this timeframe for the best flavor and texture, as they can dry out or lose their desirable softness over time.
Advertisement
Can I freeze Japanese rice balls, and if so, how?
Absolutely! To freeze, wrap each Onigiri tightly in plastic wrap, ensuring there are no air pockets. Then, place the wrapped rice balls in freezer bags. They can be stored for up to 3 months. To enjoy, thaw them in the refrigerator overnight and microwave briefly (about 10-20 seconds) to warm them up.
What are some common troubleshooting tips for Japanese rice balls?
If your rice balls are falling apart, ensure you’re using the right rice type and enough sticky rice to hold together. When shaping, apply gentle but firm pressure to compact them without mashing them. Additionally, if the rice feels too wet, consider using drier fillings to maintain structure.
Are Japanese rice balls suitable for vegetarian diets?
Yes! Japanese rice balls can easily accommodate vegetarian fillings such as vegetables, pickled radishes, or tofu. Just make sure any seasoning like furikake is also vegetarian-friendly, and you can enjoy guilt-free snacks that are nutritious and delicious!
Can my pets eat Japanese rice balls?
While the main ingredients of rice and nori are not toxic to pets, it’s best to avoid giving your furry friends Onigiri. Fillings like tuna might be okay in small amounts, but always consult your veterinarian first. Remember, some ingredients can be hazardous to pets, so it’s better to stick with pet-friendly treats!
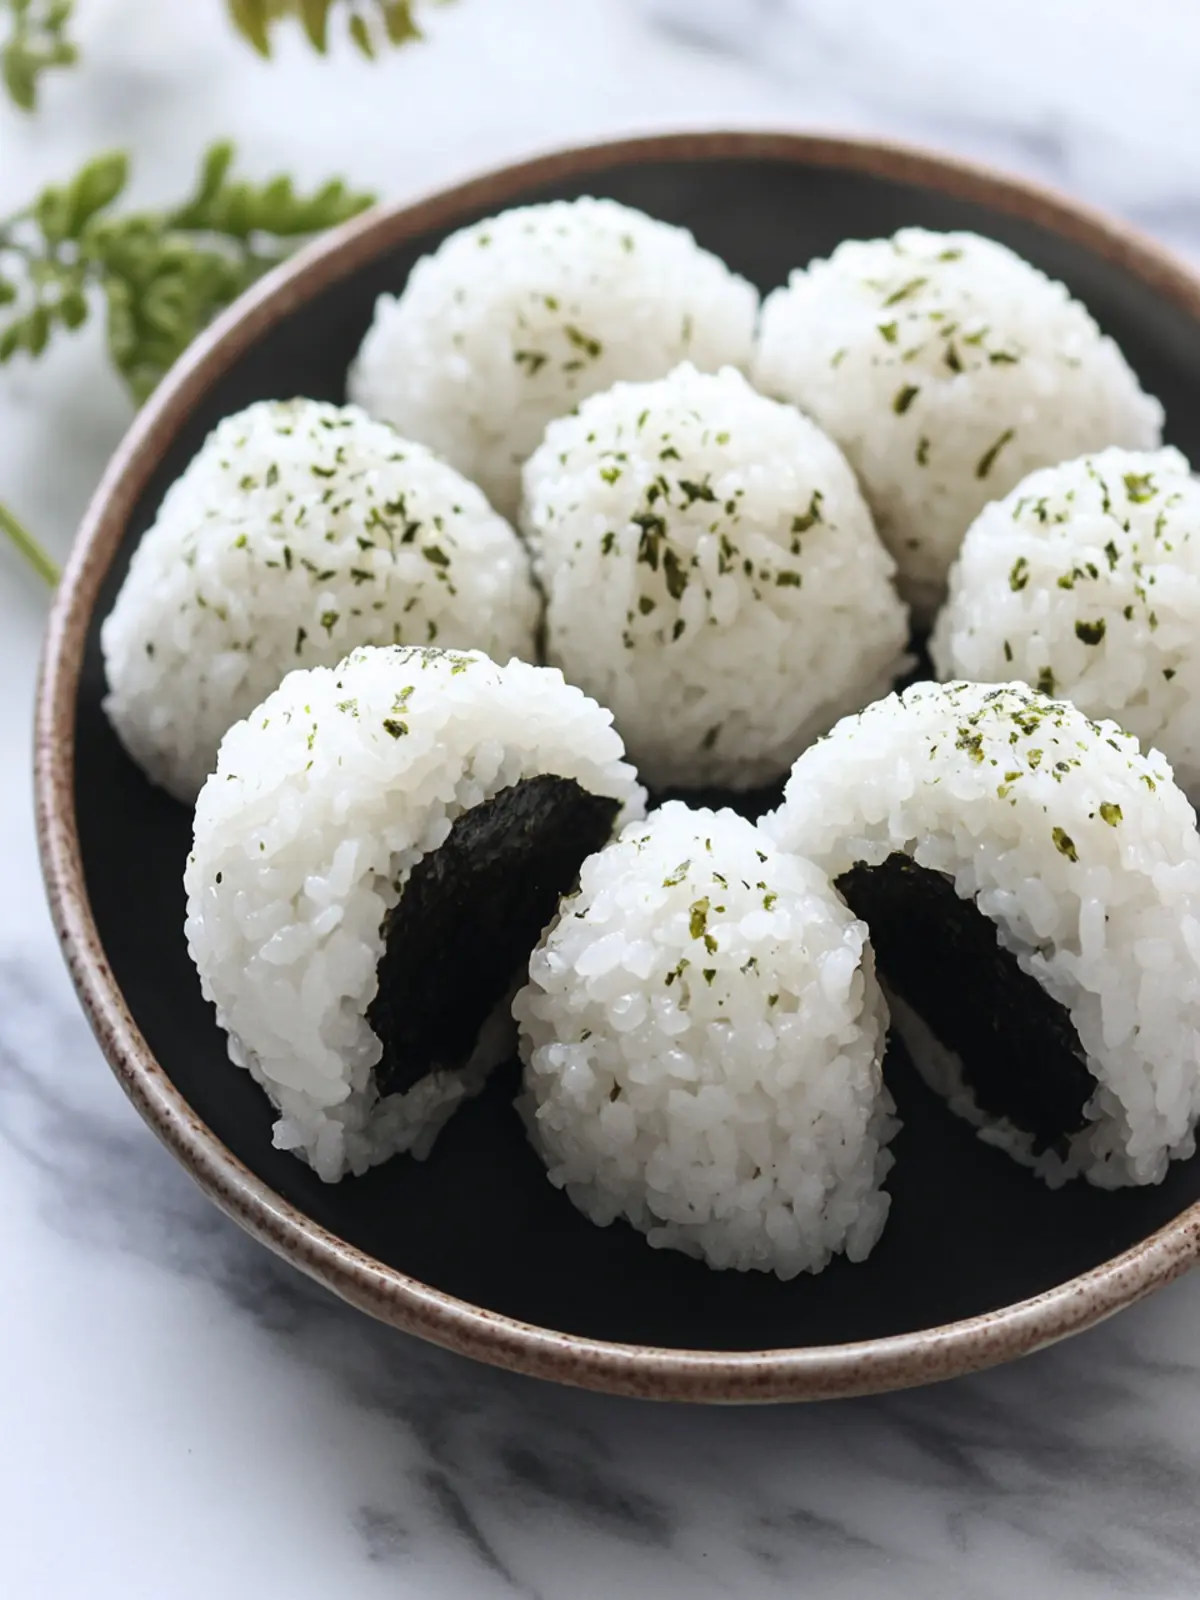
Savory Japanese Rice Balls: Easy Onigiri for Every Craving
Ingredients
Equipment
Method
- Begin by placing freshly cooked and slightly cooled medium or short grain rice into a mixing bowl. Sprinkle a generous amount of furikake over the rice and mix gently until evenly coated.
- Dampen your hands with a splash of water and sprinkle some kosher salt onto your palms. This will help prevent the rice from sticking to your hands while you shape the balls.
- Scoop about 1/2 cup of seasoned rice and gently form it into a triangle shape using your hands. Apply light pressure, ensuring the rice stays compact but not overly compressed.
- For a defined shape, press your rice triangles against a cutting board. This step adds a lovely structure that will hold up beautifully when served.
- Place a strip of roasted nori at the bottom of each rice triangle for that signature crunch. If desired, sprinkle some sesame seeds on top for added flavor and a nice presentation.
- Enjoy your Japanese rice balls immediately for the best flavor and texture. If any are left over, wrap them individually in plastic to enjoy later—though they're best eaten the same day!


