
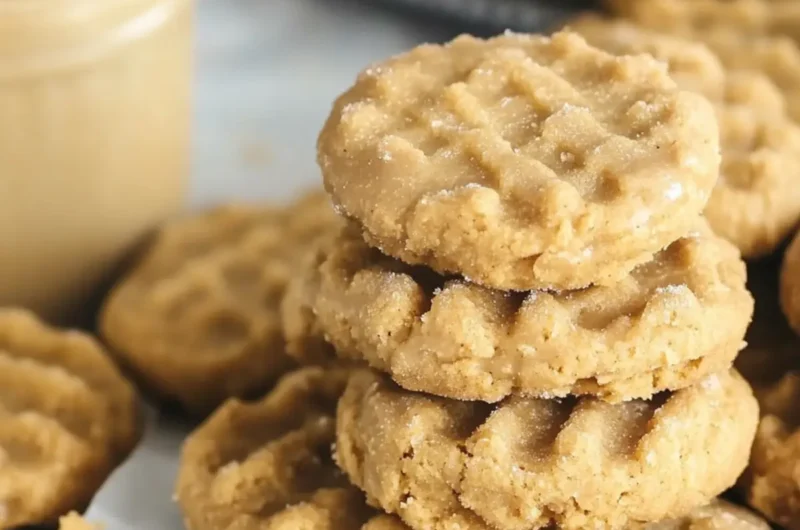
There’s nothing quite like the comforting aroma of cookies baking in your kitchen, especially when those cookies are warm, soft, and based on the beloved Nutter Butter. As I stirred together the rich, creamy peanut butter filling for these Homemade Nutter Butters, I couldn’t help but feel nostalgic about breezy afternoons spent in my childhood kitchen, devouring the iconic store-bought treats. This recipe brings all that delightful flavor home while allowing you to customize every aspect.
Whether you’re tackling an afternoon snack craving or prepping for a family gathering, these cookies are incredibly easy to whip up using ingredients you likely already have on hand. What’s more, you can make them entirely your own—consider adding chocolate for a decadent twist or experimenting with different nut butters! Join me as we recreate this classic with a personal touch that will surely have everyone asking for seconds. Let’s dive into the delightful world of Homemade Nutter Butters!

Why are Homemade Nutter Butters a must-try?
Nostalgic Treat: Relive childhood memories with these soft, chewy cookies, reminiscent of your favorite store-bought snacks.
Simplicity: Only a few common ingredients are needed, making this a perfect go-to recipe even on busy days.
Customizable Flavors: Add chocolate or use different nut butters to personalize your treats, ensuring everyone gets a cookie they will love.
Family-Friendly: Great for kids and adults alike, these cookies are a wonderful way to bring the family together in the kitchen.
Perfect Pairing: Serve them with milk or on dessert platters at gatherings—these cookies are sure to impress!
Homemade Nutter Butters Ingredients
For the Cookies
- All Purpose Flour – Provides structure to cookies; use a gluten-free blend if needed.
- Baking Soda – Acts as a leavening agent; ensure it’s fresh for the best rise.
- Kosher Salt – Enhances overall flavor; regular salt works as a substitute.
- Unsalted Butter – Adds richness and tenderness; swap with vegan butter for a dairy-free option.
- Light Brown Sugar – Imparts moisture and depth; granulated or coconut sugar can lighten the flavor.
- Creamy Peanut Butter – The main flavor of the cookies; choose natural or processed varieties as you like.
- Large Egg – Binds ingredients together; a flax egg works well for vegan versions.
- Pure Vanilla Extract – Adds warmth and aroma; opt for pure for richer flavor.
- Sugar (for rolling dough) – Dusts the cookies for sweetness; consider a sugar substitute if desired.
For the Peanut Butter Filling
- Unsalted Butter – Keeps the filling creamy; vegan butter can be used for a dairy-free choice.
- Creamy Peanut Butter – Offers delicious flavor; try mixing in chocolate for a fun twist.
- Powdered Sugar – Sweetens and thickens the filling; granulated sugar will change the texture.
- Milk – Adjusts consistency; any plant-based milk works as a substitute.
- Vanilla Extract – Enhances the filling flavor; it can be omitted if you prefer simplicity.
How to Make Homemade Nutter Butters
-
Preheat your oven to 350°F (175°C) and line a cookie sheet with parchment paper. This will prevent your cookies from sticking and ensure an even bake.
-
Whisk together flour, baking soda, and salt in a bowl; set aside. This helps to evenly distribute the leavening agent and seasoning throughout the cookies.
-
Cream together the softened butter, brown sugar, and creamy peanut butter in a mixer until fluffy. Continue mixing for about 2-3 minutes until the mixture is light and airy.
-
Add in the egg and vanilla extract, mixing until completely combined. This will help to bind your ingredients together, providing a deliciously moist cookie.
-
Gradually blend in the dry ingredients, mixing until just combined. Avoid overmixing to keep your cookies tender and soft.
-
Shape the dough into 1.5 tablespoon balls, then form them into logs, and roll in sugar. This gives your cookies a sweet, crunchy exterior.
-
Place them on the cookie sheet, making a criss-cross pattern with a fork. Bake for 10-12 minutes, or until the edges turn golden brown.
-
Cool the cookies on the baking sheet for 5 minutes before moving them to a wire rack to cool completely. This ensures they firm up nicely without getting too hard.
-
Make the filling by beating together the unsalted butter, creamy peanut butter, powdered sugar, milk, and vanilla until smooth and creamy. This rich filling is the heart of your Nutter Butters!
-
Assemble the cookies by spreading the filling on one cookie and topping it with another. Press down gently to create a lovely sandwich.
Optional: Drizzle melted chocolate over the finished cookies for an extra decadent touch.
Exact quantities are listed in the recipe card below.

How to Store and Freeze Homemade Nutter Butters
Room Temperature: Store your Homemade Nutter Butters in an airtight container at room temperature for up to 3-4 days to maintain their softness.
Fridge: If you prefer chilled cookies, these will keep well in the fridge for up to a week. Just ensure they are in a sealed container to prevent drying out.
Freezer: For longer storage, freeze the cookies in an airtight container or freezer bag for up to 3 months. Layer parchment paper between cookies to prevent sticking.
Reheating: To enjoy the cookies warm, microwave them for about 10-15 seconds or let them sit at room temperature for a few minutes before indulging.
What to Serve with Homemade Nutter Butters?
There’s something special about the perfect meal accompaniment, whether it’s a warm drink or a delightful side that enhances your dessert experience.
-
Cold Glass of Milk: A classic choice, milk pairs beautifully with these creamy cookies, balancing their sweetness and providing a nostalgic twist reminiscent of childhood.
-
Chocolate Dipped Strawberries: The rich cocoa of the strawberries complements the peanut butter flavor perfectly, creating an elegant dessert that’s great for special occasions.
-
Ice Cream Sandwich: Try sandwiching your Homemade Nutter Butters with a scoop of vanilla or chocolate ice cream for a delightful twist that adds a cool, creamy texture.
-
Fruit Salad: A fresh medley of fruits offers a light, refreshing contrast to the rich cookies, adding a touch of brightness to your dessert table.
-
Chocolate Milkshake: Mix up a creamy chocolate milkshake to serve alongside your cookies. The two together create a delightful dessert experience that feels indulgent and fun.
-
Decaf Coffee or Tea: Pairing your cookies with a warm beverage like decaf coffee or herbal tea enhances those nutty, comforting flavors and makes for the perfect afternoon treat.
Each of these pairings is designed to elevate the experience of enjoying Homemade Nutter Butters while adding a touch of creativity to your dessert spread!
Expert Tips for Making Homemade Nutter Butters
-
Peanut Butter Choice: Use natural peanut butter for a less sweet, more authentic flavor; processed peanut butter can lead to overly sweet cookies.
-
Don’t Overmix: Once you add dry ingredients, mix just until combined to keep your Homemade Nutter Butters soft and chewy.
-
Chill the Dough: If your dough is too sticky, refrigerate it for 30 minutes. This makes it easier to shape and helps them hold their form while baking.
-
Watch the Bake Time: Remove cookies from the oven when they’re lightly golden around the edges; they will continue to firm up as they cool.
-
Perfect Filling Consistency: Aim for a smooth peanut butter filling that’s not too runny. Adjust milk in small increments for the right texture.
-
Creative Variations: Mix in crushed nuts or chocolate chips to the dough before baking for an extra texture layer in your Homemade Nutter Butters.
Homemade Nutter Butters Variations & Substitutions
Customize your cookies to match your taste and dietary needs, making every bite a delightful surprise!
- Crunchy Option: Use crunchy peanut butter instead of creamy for a fun, textured twist. This adds a satisfying crunch to each cookie.
- Nut-Free: Substitute peanut butter with sunflower seed butter for a nut-free version, perfect for school lunches. You’ll still get that creamy richness, minus the nuts!
- Coconut Sweetness: Replace brown sugar with coconut sugar for a lighter sweetness with a slight caramel flavor. It’s a delicious, natural alternative!
- Vegan-Friendly: Opt for vegan butter and a flax egg to make these cookies completely plant-based, catering to all your guests.
- Chocolate Lovers: Mix in chocolate chips or create a chocolate filling by blending peanut butter with melted chocolate for a decadent treat that will surely impress.
- Almond Butter: Swap peanut butter for almond butter to introduce a new nutty flavor profile. This will elevate your cookies to a gourmet level!
- Spiced Variation: Add a pinch of cinnamon or nutmeg to the cookie dough for a warm, aromatic twist that pairs beautifully with the peanut butter.
- Add a Kick: Incorporate a dash of cayenne or chili powder into the filling for those who enjoy a bit of heat with their sweets, creating a flavor explosion!
Embrace your creativity and heartfelt flavors as you make these delightful variations!
Make Ahead Options
These Homemade Nutter Butters are perfect for busy home cooks looking to save time! You can prepare the cookie dough up to 24 hours in advance by mixing all the ingredients and storing the dough in an airtight container in the refrigerator. To maintain quality, keep the dough tightly wrapped to prevent drying out. The cookies can also be baked and stored in an airtight container for up to 3 days at room temperature, preserving their soft texture. When ready to assemble, simply whip up the filling and pair it with the cookies for delightful results that feel fresh and homemade, making your busy weekdays just a little sweeter!

Homemade Nutter Butters Recipe FAQs
What kind of peanut butter should I use for the cookies?
Absolutely, using creamy peanut butter is essential for that classic flavor! I recommend using natural peanut butter for a fresher taste, but processed varieties will work just fine as well. Just ensure it’s well-mixed and not overly oily to maintain the texture of the cookies.
How should I store my Homemade Nutter Butters?
Store your Homemade Nutter Butters in an airtight container at room temperature for 3-4 days for the best softness. If you like a chilled cookie, they’ll do well in the fridge for up to a week, but make sure to keep them in a sealed container to retain moisture.
Advertisement
Can I freeze Homemade Nutter Butters?
Of course! To freeze your cookies, place them in an airtight container or a freezer bag for up to 3 months. I highly recommend layering parchment paper between the cookies to prevent them from sticking together. When you’re ready to enjoy them, simply let them thaw in the fridge or at room temperature for the best texture.
What if my dough is too sticky?
Very! If you find your dough a bit too sticky to shape, just pop it in the refrigerator for about 30 minutes. This will help firm it up and make it easier to form into logs. It’s a handy tip I often use when working with cookie dough!
Are there any dietary considerations for my Homemade Nutter Butters?
Definitely! If you’re cooking for family or friends with dietary restrictions, you can easily adjust this recipe. Opt for gluten-free flour instead of all-purpose flour for gluten sensitivity, and use vegan butter and a flax egg in lieu of traditional ingredients for a dairy-free and egg-free version. Always double-check the labels of your peanut butter and sugar substitutes to ensure they meet dietary needs!
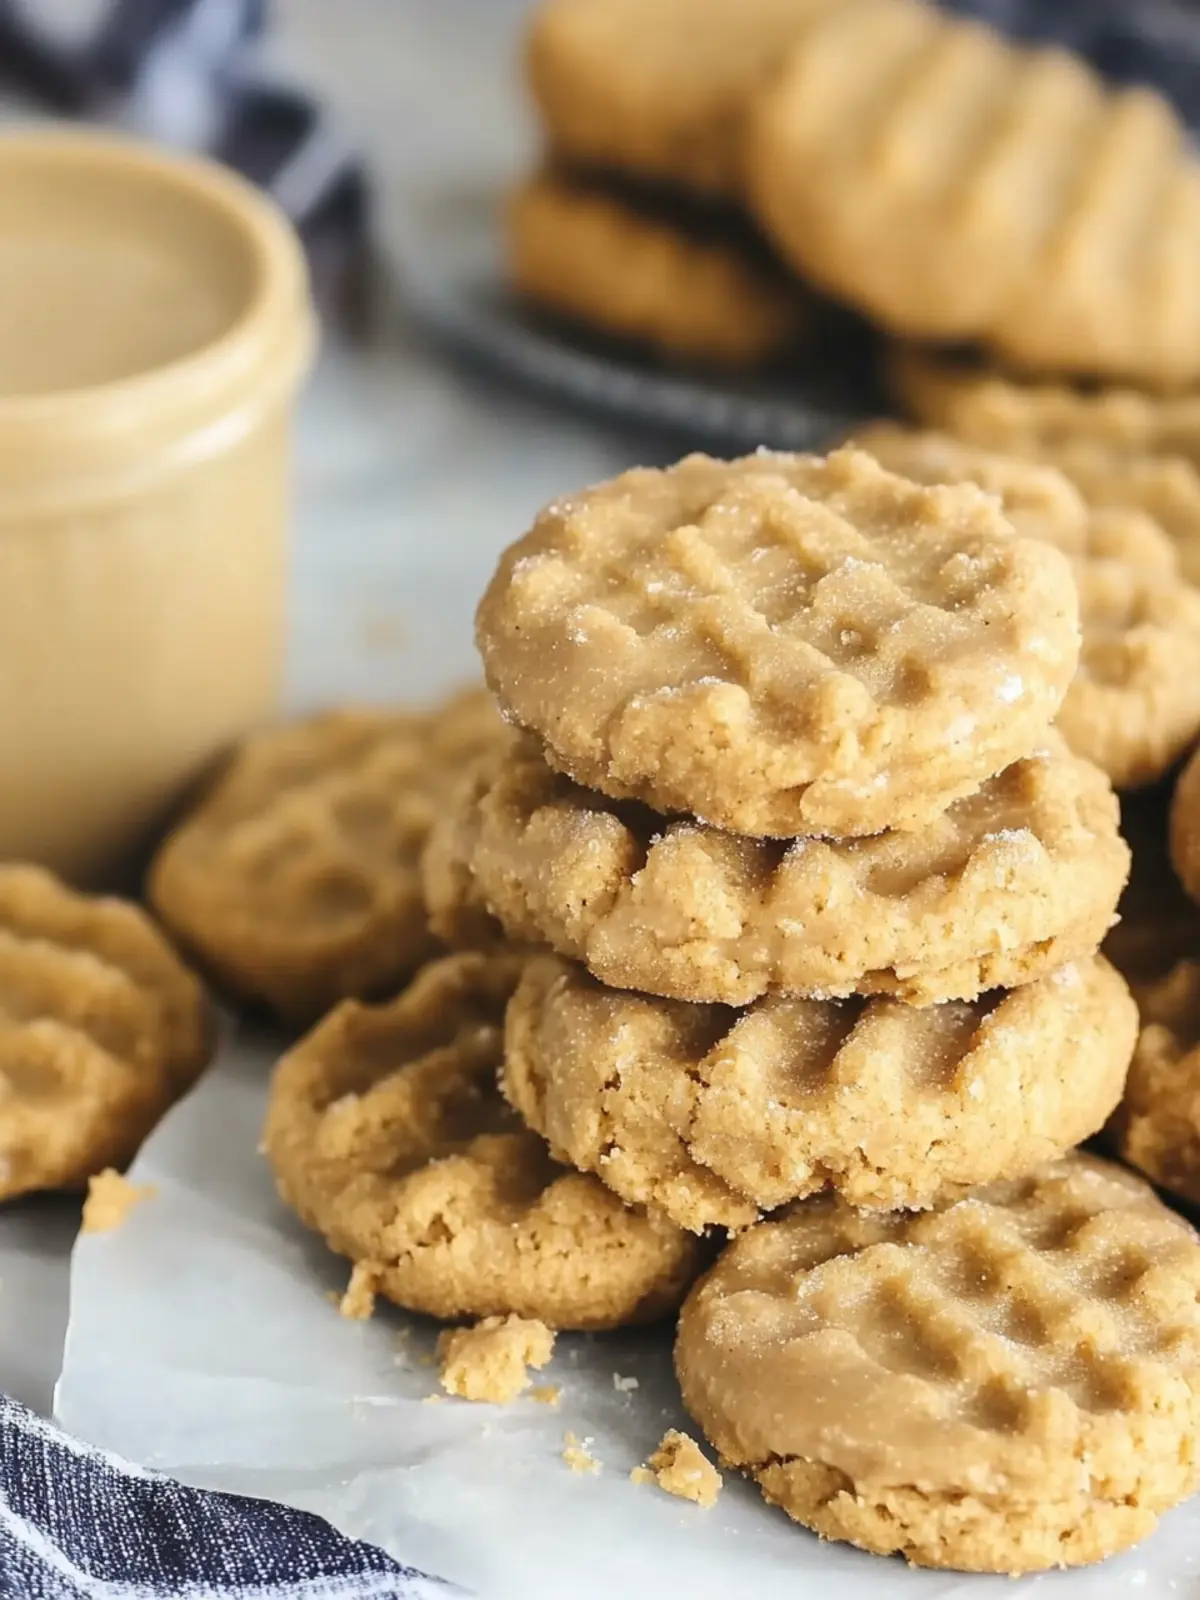
Homemade Nutter Butters: Irresistibly Soft Peanut Butter Treats
Ingredients
Equipment
Method
- Preheat your oven to 350°F (175°C) and line a cookie sheet with parchment paper.
- Whisk together flour, baking soda, and salt in a bowl; set aside.
- Cream together the softened butter, brown sugar, and creamy peanut butter in a mixer until fluffy.
- Add in the egg and vanilla extract, mixing until completely combined.
- Gradually blend in the dry ingredients, mixing until just combined.
- Shape the dough into 1.5 tablespoon balls, then form them into logs, and roll in sugar.
- Place them on the cookie sheet, making a criss-cross pattern with a fork. Bake for 10-12 minutes.
- Cool the cookies on the baking sheet for 5 minutes before moving them to a wire rack.
- Make the filling by beating together the unsalted butter, creamy peanut butter, powdered sugar, milk, and vanilla until smooth.
- Assemble the cookies by spreading the filling on one cookie and topping it with another.


