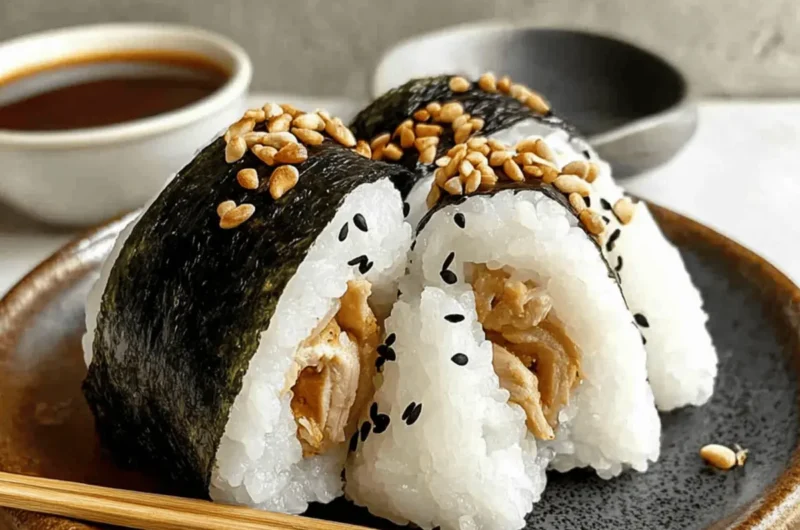
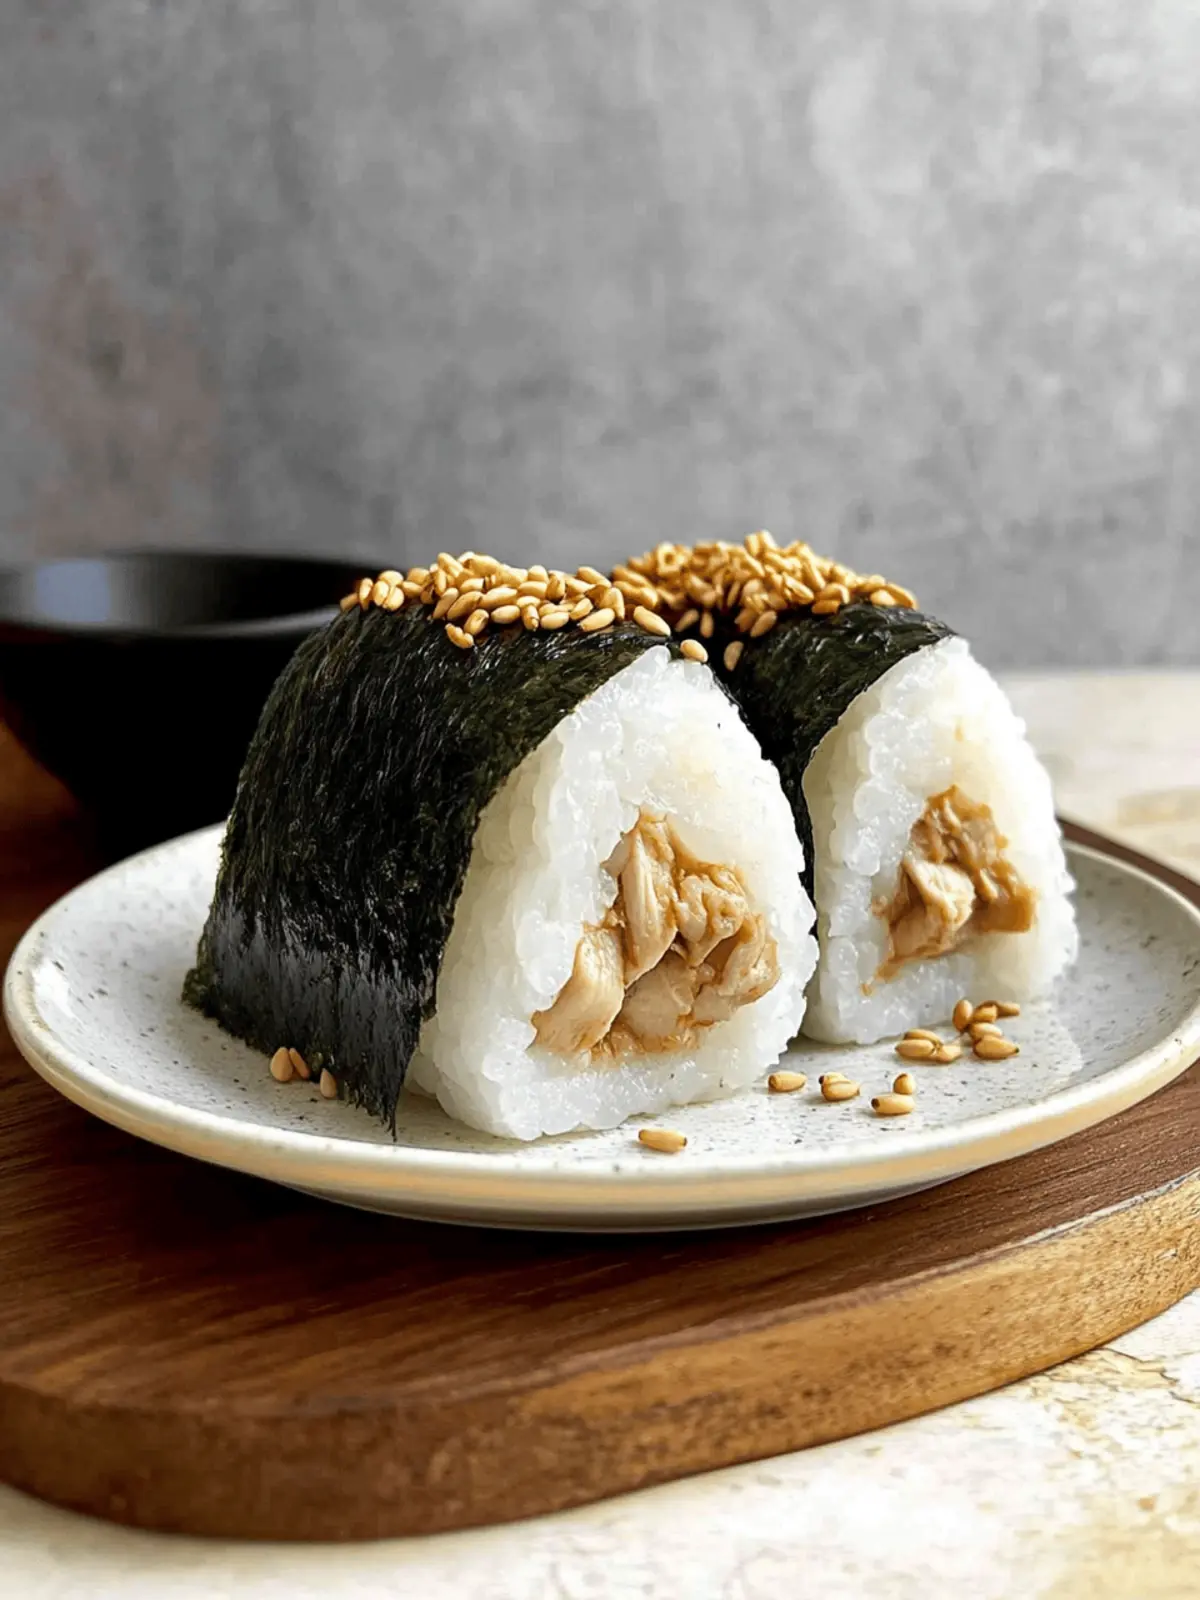
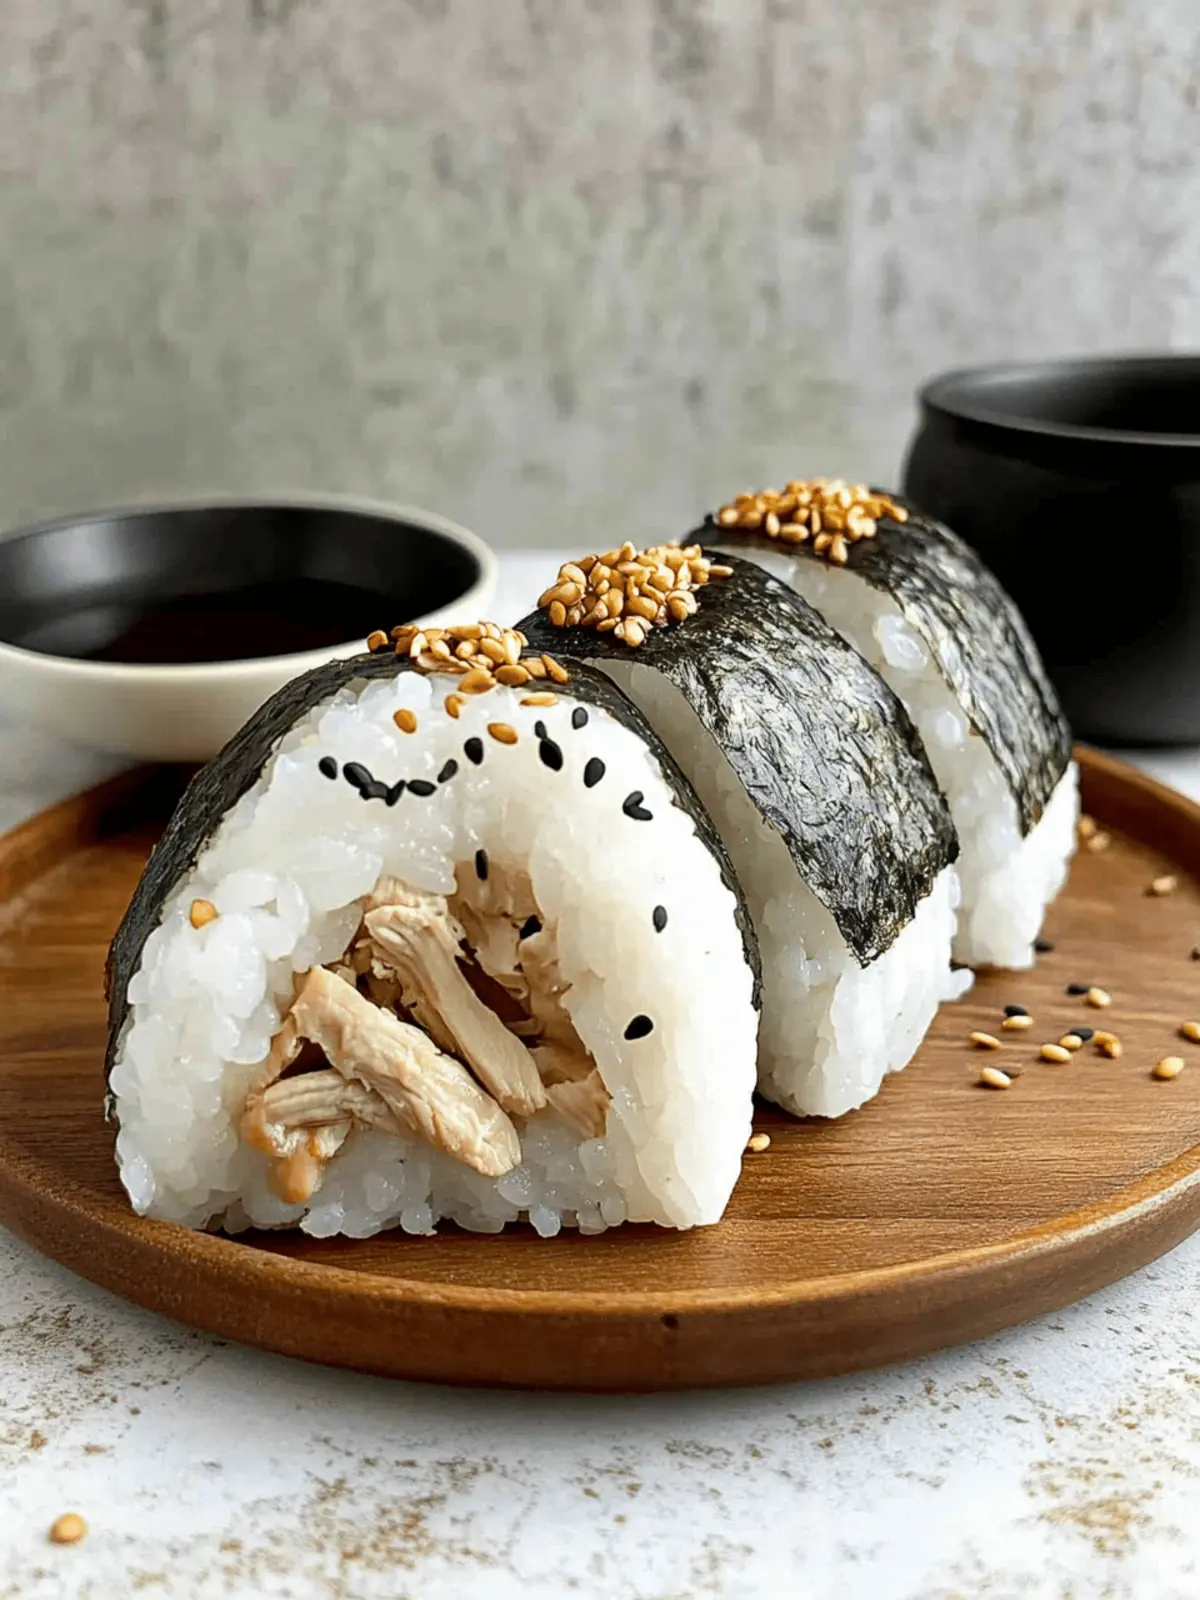
When the craving for something savory strikes, I reach for these delightful Chicken Onigiri wrapped in nori. This recipe is not just your average snack; it’s a mouthwatering treat that perfectly balances succulent chicken and sticky rice. As I whip up these flavorful triangular morsels, the seductive smell of teriyaki sauce wafts through my kitchen, promising an explosion of umami in every bite.
Picture this: you’re out and about, but your stomach is growling, and fast food just won’t cut it. These quick and easy Chicken Onigiri fit the bill! They’re portable, satisfying, and oh-so-simple to make, making them ideal for lunch boxes or a leisurely afternoon snack. With just a few ingredients and steps, you can craft these authentic Japanese bites and impress friends and family alike. And trust me, once you taste the gentle crispness of nori paired with the tender, teriyaki-glazed chicken, you’ll be hooked. Let’s dive into the world of homemade onigiri and make your snacking a little more exciting!
Why will you love Chicken Onigiri?
Convenience: These onigiri are perfect as a quick snack or packed lunch that you can take anywhere.
Flavorful Fusion: The sweet and savory teriyaki glaze gives your chicken an irresistible umami taste that keeps you coming back for more.
Easy to Make: With straightforward steps and minimal ingredients, you’ll have these delicious bites ready in no time!
Customizable: Feel free to switch up fillings or sauces for a unique twist every time—try tofu for a vegetarian option!
Crowd-Pleaser: Whether you’re hosting a gathering or simply enjoying a quiet evening, these delightful onigiri never fail to please family and friends alike.
Chicken Onigiri Ingredients
For the Rice
• Sushi Rice – Use short-grain rice for a sticky and satisfying texture.
• Salt – Fine salt enhances the flavor of the rice, ensuring it’s well-seasoned.
• Furikake – This optional seasoning adds extra crunch and flavor; sprinkle it on top after shaping.
For the Chicken Filling
• Chicken Meat (Boneless, Skinless) – Drumsticks are great, but thighs or even ground chicken work as tasty substitutes.
• Soy Sauce – Adds a rich savory flavor to your chicken marinade.
• Sake (or Water) – Provides moisture; if you’re out of sake, water will do just fine.
• Baking Soda – Tenderizes the chicken, making every bite juicy and delightful.
• Cornstarch – Helps create that silky teriyaki glaze on your chicken.
• Minced Garlic – Infuses aromatic flavor, enhancing the overall taste of the filling.
For the Teriyaki Sauce
• Mirin – This sweet rice wine deepens the flavor of your teriyaki sauce.
• Brown Sugar – Balances the savory and acidic notes of the sauce, creating a harmonious blend.
• Oil – Use for stir-frying the chicken, ensuring it doesn’t stick to the pan.
For the Wrap
• Nori – The seaweed adds a delightful umami flavor and is perfect for wrapping your onigiri.
With these simple yet impactful ingredients, you’ll have everything you need to make your delightful Chicken Onigiri at home! Happy cooking!
How to Make Chicken Onigiri
-
Cook the Rice: Start by using a rice cooker to prepare 4 cups of sushi rice. Once it’s cooked, gently mix in fine salt and sprinkle furikake for extra flavor.
-
Marinate Chicken: Cut the boneless, skinless chicken into bite-sized pieces. Combine it with soy sauce, sake, baking soda, and cornstarch in a bowl. Let it marinate in the refrigerator for 30 minutes to infuse flavors.
-
Make Teriyaki Sauce: In a small bowl, whisk together soy sauce, mirin, and brown sugar until well combined. Set this aside as it will add richness to your chicken.
-
Stir-Fry Chicken: Heat a tablespoon of oil in a pan over medium-high heat. Add the marinated chicken and sauté until cooked through, about 2-3 minutes. Toss in the minced garlic, stirring for an additional 30 seconds before adding the teriyaki sauce until it thickens. Remove from heat.
-
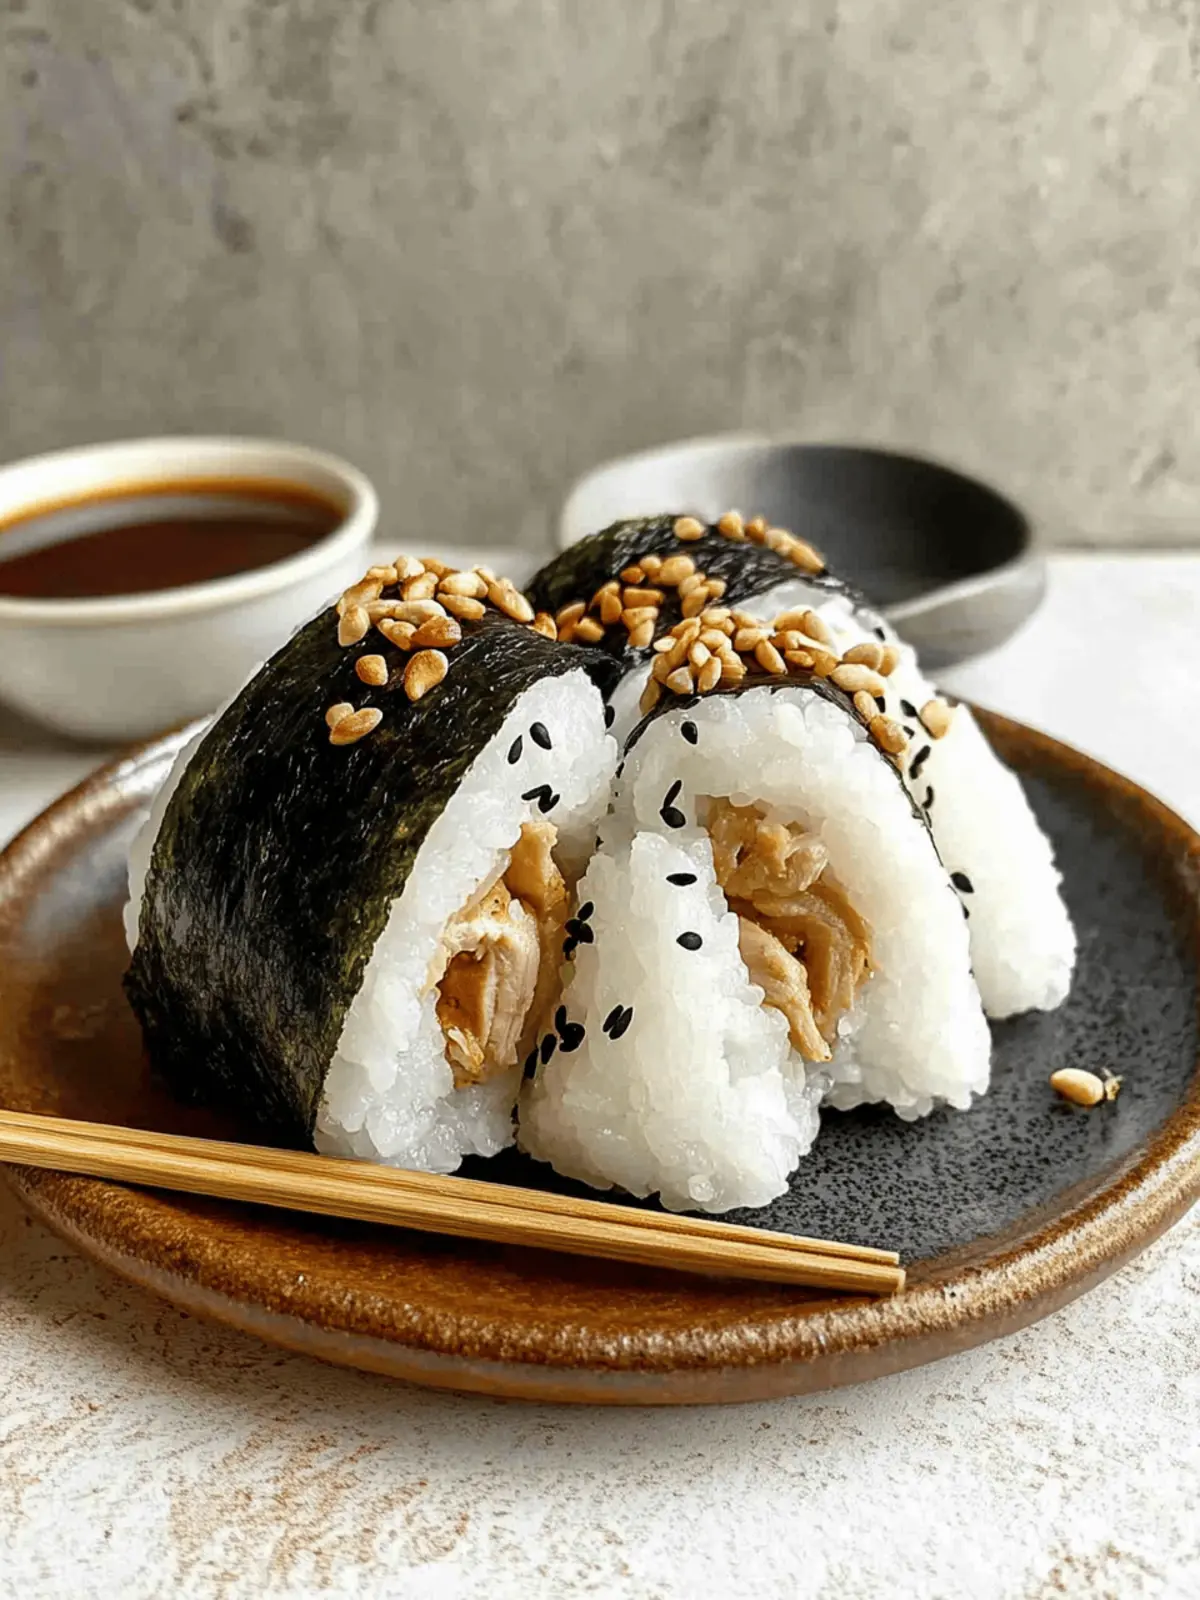
Shape Onigiri: With wet hands, scoop about ⅓ cup of cooked rice into your palm. Create a small well in the center and fill it with 1 tablespoon of the flavorful chicken filling. Top with more rice and gently mold it into a triangle shape. Wrap the onigiri with a piece of nori.
Optional: Serve warm with soy sauce or pickled veggies for an extra flavor boost.
Exact quantities are listed in the recipe card below.
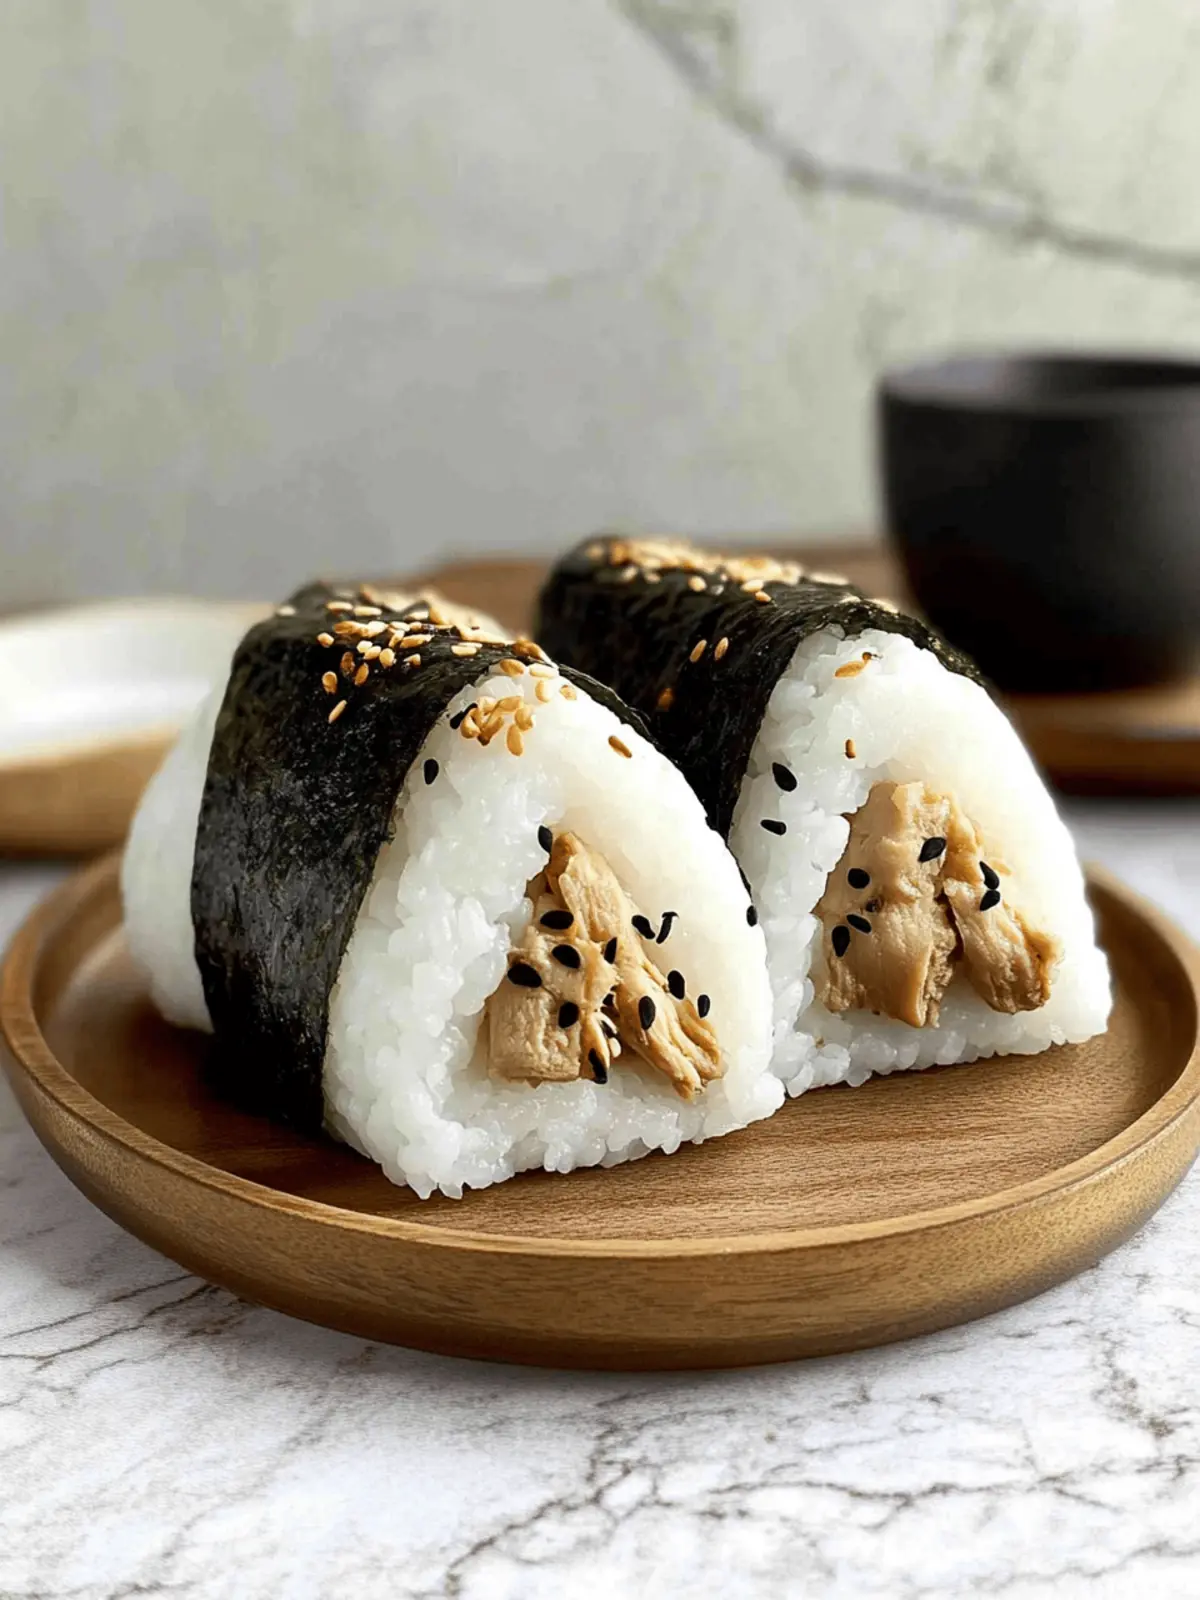
Storage Tips for Chicken Onigiri
Room Temperature: Enjoy Chicken Onigiri fresh within the first hour of making them, as they can lose their texture if left out longer.
Fridge: Store any leftover Chicken Onigiri in an airtight container for up to 2 days. To maintain freshness, wrap them individually in plastic wrap before placing them in the container.
Freezer: For longer storage, freeze your onigiri by placing them in a single layer on a baking sheet, then transfer to a freezer-safe bag once solid. They can last up to 2 months.
Reheating: To revitalize your Chicken Onigiri, reheat in the microwave for about 30-60 seconds, covered with a damp paper towel to retain moisture.
Chicken Onigiri Variations
Feel free to let your culinary creativity roam with these delightful twists on Chicken Onigiri!
-
Vegetarian Option: Substitute chicken with cubed tofu marinated in soy sauce and garlic for a hearty meat-free version.
Toss in some vegetables like bell peppers or carrots for added color and crunch! -
Spicy Kick: Add a spoonful of Sriracha or gochujang to your teriyaki sauce for a fiery flavor that awakens the palate.
This delightful heat contrasts beautifully with the rich sweetness of the glaze. -
Asian Inspired: Swap the nori for a fresh lettuce wrap for a low-carb, crunchy alternative, perfect for those wanting a lighter snack.
It gives a fresh twist while maintaining the flavors of traditional onigiri! -
Quinoa Substitute: Replace sushi rice with cooked quinoa for a protein-packed, gluten-free hybrid that still feels wonderfully filling.
You won’t miss the rice—this option packs a wholesome punch! -
Herbed Glaze: Infuse your teriyaki sauce with fresh herbs like cilantro or mint for a fragrant and refreshing twist.
These herbs elevate the overall flavors and add a lovely green pop! -
Umami Bomb: Enhance your filling with minced mushrooms for an earthy profile that complements the chicken’s tenderness.
Mushrooms bring an extra layer of depth that will surely impress any guest. -
Savory Sweet: Drizzle a little honey over the chicken before wrapping it in nori to intensify that sweet-savory balance.
The honey caramelizes slightly, adding a delightful finish to your onigiri. -
Heat Level Variations: Opt for a different sauce, such as spicy mayo or a sweet chili sauce, for a unique take on teriyaki.
Each sauce creates a new flavor experience that is equally enjoyable!
What to Serve with Chicken Onigiri?
Imagine the joy of pairing your savory Chicken Onigiri with complementary flavors that enhance every delicious bite.
- Soy Sauce: A classic pairing, offering an extra salty bite that elevates the umami goodness of the onigiri.
- Pickled Vegetables: The acidity and crunch of pickled veggies provide a refreshing contrast to the rich, tender chicken inside.
- Edamame: These little green gems are an excellent side, bringing a nutty flavor and a pleasant bite that balances the soft onigiri.
- Japanese Cucumber Salad: Light and crisp, the refreshing cucumber salad complements the savory chicken while adding a burst of freshness.
- Miso Soup: A warm bowl of miso soup is perfect alongside onigiri, adding warmth and comfort, ideal for a fulfilling meal.
- Green Tea: A soothing drink that cuts through the richness of the chicken and refreshes your palate between bites.
- Gyoza: Crispy, savory dumplings provide a delightful texture and flavor contrast, making for a satisfying meal.
- Fruit Skewers: Fresh, juicy fruit can add a sweet finish to your meal, providing a light and playful note after the savory onigiri.
- Teriyaki Brussels Sprouts: Roasted Brussels sprouts with a teriyaki glaze mirror the flavors in the onigiri, tying the meal together beautifully.
- Mochi Ice Cream: End on a sweet note with delightful mochi ice cream for a creamy and chewy dessert twisted with traditional flavors.
Expert Tips for Chicken Onigiri
• Rice Consistency: Ensure your sushi rice is adequately cooked and sticky to hold together well, making shaping easier.
• Soak and Drain: Rinse the rice thoroughly before cooking to remove excess starch, resulting in better texture for your Chicken Onigiri.
• Nori Handling: Make sure to wrap the nori around your onigiri just before serving to maintain its crispness; otherwise, it can become chewy.
• Marinate Smart: Marinating the chicken for longer than 30 minutes enhances flavor but be cautious not to leave it too long to avoid a mushy texture.
• Shaping Technique: Keep your hands wet while shaping the onigiri to prevent the rice from sticking to your skin easily.
• Filling Varieties: Feel free to experiment with different sauces or fillings for unique Chicken Onigiri variations your family will love!
Make Ahead Options
These Chicken Onigiri are a fantastic option for meal prep enthusiasts and busy schedules! You can prepare the rice and marinated chicken up to 24 hours in advance. Cook the sushi rice and refrigerate it in an airtight container to keep it fresh. For the chicken, marinate it in the soy sauce mixture and store it in the fridge until you’re ready to cook. When you’re set to serve, simply stir-fry the marinated chicken with garlic and teriyaki sauce, then shape the onigiri. This way, you’ll enjoy the convenience of homemade snacks that are just as delicious as if made fresh!
Chicken Onigiri Recipe FAQs
What kind of rice is best for making Chicken Onigiri?
Sushi rice, particularly short-grain rice, is ideal for Chicken Onigiri. It provides the necessary stickiness to hold the onigiri shape. I recommend rinsing the rice under cold water until the water runs clear, which helps to achieve that perfect graininess!
Advertisement
How should I store leftover Chicken Onigiri?
Leftover Chicken Onigiri can be stored in an airtight container in the refrigerator for up to 2 days. For best results, wrap each onigiri in plastic wrap before placing them in the container to maintain freshness. If you store them this way, they can retain their flavor and texture for a bit longer!
Can I freeze Chicken Onigiri?
Absolutely! To freeze Chicken Onigiri, lay them out in a single layer on a baking sheet. Once they’re solid, transfer them to a freezer-safe bag or container. They’ll keep for up to 2 months. When ready to eat, you can reheat them in the microwave—just cover them with a damp paper towel for about 30-60 seconds to maintain moisture.
What if my Chicken Onigiri keeps falling apart?
If your Chicken Onigiri tends to fall apart, it might be due to insufficiently sticky rice or inadequate shaping. Ensure that the sushi rice is cooked properly and has cooled slightly before shaping. Wet your hands while forming the onigiri to help the rice stick together better. Additionally, try pressing the rice firmly but gently to ensure it holds its shape.
Are Chicken Onigiri safe for pets?
It’s recommended to avoid giving Chicken Onigiri to pets, particularly due to the inclusion of soy sauce and other ingredients that may not be suitable for them. Always check with your veterinarian before introducing any human food into your pet’s diet.
What can I use as a substitute for soy sauce in Chicken Onigiri?
If you’re looking for a soy sauce alternative, coconut aminos is a great choice for a soy-free option. It has a slightly sweeter taste but still delivers umami flavor. Another option is tamari, which is gluten-free and works wonderfully when replaced 1:1 in the marinade.
Savory Chicken Onigiri with Teriyaki: Your New Go-To Snack
Ingredients
Equipment
Method
- Cook the Rice: Use a rice cooker to prepare 4 cups of sushi rice. Once cooked, mix in fine salt and sprinkle furikake for extra flavor.
- Marinate Chicken: Cut chicken into bite-sized pieces, combine with soy sauce, sake, baking soda, and cornstarch. Marinate for 30 minutes.
- Make Teriyaki Sauce: Whisk together soy sauce, mirin, and brown sugar in a small bowl.
- Stir-Fry Chicken: Heat oil in a pan, sauté marinated chicken until cooked, add garlic, and then stir in teriyaki sauce until thickened.
- Shape Onigiri: With wet hands, scoop rice into your palm, create a well for chicken filling, cover with more rice, mold into a triangle shape and wrap with nori.

