
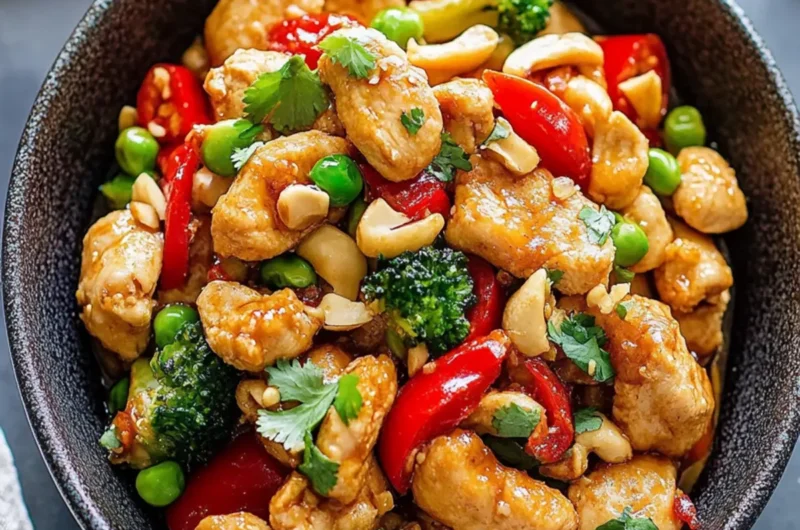
After a long day filled with endless responsibilities, nothing quite compares to the enticing aroma of a homemade meal wafting through the kitchen. This Better-Than-Takeout Cashew Chicken is my go-to dish during those hectic weeknights when I crave something quick, delicious, and satisfying. Picture this: juicy chicken, crisp-tender vegetables, and crunchy cashews all coated in a savory, garlicky soy sauce, elevating your weeknight dinner to a delightful escape from the ordinary fast-food routine.
I stumbled upon this recipe while trying to balance my love for Asian-inspired cuisine with the need for a healthier dinner option. With just 20 minutes from start to finish, it’s remarkable how such vibrant flavors and nutritious ingredients come together in a single skillet. Better yet, it’s a crowd-pleaser that impresses family and friends alike. So, let’s dive in and discover how easy it is to bring this scrumptious dish to your dinner table!

Why is Cashew Chicken a Family Favorite?
Quick and Easy: With only 20 minutes from start to finish, this recipe is perfect for those busy weeknights when you need a hearty meal fast.
Healthier Option: This dish is not only delicious but also a nutritious alternative to takeout, packed with protein and colorful veggies.
Flavor Explosion: The combination of savory soy sauce, nutty sesame oil, and sweet honey creates a flavor that dances on your palate.
Customizable: Easily swap ingredients to suit your taste or use whatever veggies you have on hand.
Crowd-Pleasing: Whether it’s your family or guests, everyone will be asking for seconds! Serve this with steamed rice or noodles for a complete meal.
Cashew Chicken Ingredients
For the Chicken
• Boneless Skinless Chicken Breasts (1.25 lbs) – Diced into 1-inch pieces for quick cooking; boneless thighs can add extra flavor.
• Cornstarch – Essential for a crispy texture; it also helps thicken the sauce to keep the chicken juicy.
• Salt – Enhances the overall flavor; always a must in seasoning.
• Pepper – Adds a mild heat and depth to every bite.
For the Stir-Fry
• Olive Oil – Perfect for sautéing; provides a nice olive flavor to the dish.
• Sesame Oil – Infuses the stir-fry with a delightful nutty taste; don’t skip it!
• Broccoli Florets (2 heaping cups) – Introduces a refreshing crunch and nutritious element, crisp-tender is best.
• Red Bell Peppers (1 cup) – For sweetness and vibrant color; can use green bell peppers if you prefer.
• Frozen Edamame (1 cup) – Packed with protein and a vibrant color; straight from the freezer is just fine.
• Garlic (2 cloves, minced) – Adds aromatic flavor; finely minced or pressed for even distribution.
For the Sauce
• Low-Sodium Soy Sauce (3 tablespoons) – Delivers savory umami flavor, making it a staple in Asian dishes.
• Honey (2 tablespoons or to taste) – Adds a sweet balance; feel free to adjust based on your preference.
• Rice Wine Vinegar (1 tablespoon) – Balances flavors with acidity; do not confuse with rice wine.
• Asian Chili Garlic Sauce (1 tablespoon) – Turns up the heat; adjust according to your spice preference.
• Ground Ginger (3/4 teaspoon) – Provides warmth and depth; a little goes a long way.
For the Garnish
• Unsalted Dry-Roasted Cashews (1 cup) – Adds delightful crunch and nutty flavor; opt for unsalted to manage salt levels.
• Green Onions (3/4 to 1 cup, sliced) – Freshens up the dish and adds a bit of crunch; use green parts for the best flavor.
How to Make Cashew Chicken
-
Combine Ingredients: In a zip-top bag, mix together cornstarch, salt, and pepper. Add the diced chicken to the bag, seal it tightly, and shake until the chicken is evenly coated.
-
Heat the Oils: In a large skillet, heat sesame oil and olive oil over medium-high heat. Once hot, add the chicken and sauté for about 4-5 minutes, stirring frequently until the chicken is nearly cooked through (about 80-90% done, it should be lightly golden).
-
Add Veggies: Toss in the broccoli, red bell peppers, frozen edamame, and minced garlic. Stir these ingredients together and continue to cook for an additional 3-4 minutes until the chicken is fully cooked and the vegetables are crisp-tender.
-
Make the Sauce: In a separate bowl, whisk together the low-sodium soy sauce, honey, rice wine vinegar, chili garlic sauce, and ground ginger. Set this mixture aside for later.
-
Stir in Cashews and Sauce: Add the unsalted dry-roasted cashews to the skillet with the chicken and vegetables. Pour the prepared sauce over everything, stirring to combine. Allow the mixture to simmer over medium-low heat for 1-2 minutes until the sauce thickens slightly.
-
Garnish and Serve: Top your dish with sliced green onions, stir well to combine, and serve immediately while it’s hot and fragrant.
Optional: Serve with steamed rice or noodles for a complete meal.
Exact quantities are listed in the recipe card below.

What to Serve with Better-Than-Takeout Cashew Chicken?
Creating a memorable meal is all about the perfect pairings that complement the vibrant flavors of your main dish.
-
Steamed Jasmine Rice: The fragrant, fluffy rice absorbs the savory sauce, making each bite of chicken even more delightful.
-
Garlic Noodles: These noodles offer a rich, buttery flavor to balance the dish’s freshness with their satisfying chewy texture.
-
Crispy Spring Rolls: Their crunchy exterior and fresh vegetable filling add a lovely contrast to the tender cashew chicken.
-
Stir-Fried Greens: Quick-cooked bok choy or kale tossed with garlic provides a nutritious side that enhances the dish’s Asian flair.
-
Coconut Milk Mango Sticky Rice: For dessert, this sweet and creamy treat rounds off your meal perfectly, contrasting the savory flavors beautifully.
-
Green Tea: Sipping on this fragrant tea not only aids digestion but also complements the dish’s flavors with its earthy tones.
Pair any of these options with your Cashew Chicken for a complete and satisfying dining experience that feels both wholesome and indulgent!
Cashew Chicken Variations
Feel free to explore these delicious variations to make this dish uniquely yours!
- Thighs Instead of Breasts: Swap chicken breasts for boneless thighs for a juicier, richer flavor and added tenderness.
- Veggie Substitutions: Replace broccoli with snap peas or bell peppers with zucchini based on what’s in season for the freshest taste.
- Heat Level: Adjust the Asian chili garlic sauce amount to match your preferred spice level, ensuring everyone enjoys the meal.
- Sweetness Switch: Substitute honey with maple syrup for a different flavor profile that still maintains that natural sweetness.
- Nut-Free Option: Omit the cashews and add sunflower seeds or toasted pumpkin seeds for a delightful crunch without the nuts.
- Saucy Delight: Increase the sauce ingredients by a tablespoon each to create a more decadent, saucy dish perfect for serving over rice.
- Crispier Cashews: For more texture, toast the cashews before adding them to the stir-fry for deeper flavor and an irresistible crunch.
- Garlic Lovers: Add an extra clove of minced garlic or two for an intensified aromatic experience that will have your family coming back for more!
How to Store and Freeze Cashew Chicken
- Fridge: Store leftovers in an airtight container for up to 4-5 days. This helps keep the flavors intact while preventing spoilage.
- Freezer: If you want to store your cashew chicken longer, freeze it in an airtight container or freezer bag for up to 3 months. Thaw overnight in the fridge before reheating.
- Reheating: When ready to enjoy again, reheat in a skillet over medium heat for 5-7 minutes, stirring occasionally to ensure even warming, or microwave for 2-3 minutes until heated through.
- Freshness Tip: For best texture, add a splash of water or a drizzle of oil while reheating to revitalize the sauce’s glossy finish.
Make Ahead Options
These Better-Than-Takeout Cashew Chicken meal prep steps are perfect for busy weeknights! You can dice the chicken, coat it with cornstarch, salt, and pepper, then refrigerate it for up to 24 hours. You can also chop the broccoli, red bell peppers, and garlic, storing them in an airtight container in the fridge for up to 3 days. Additionally, whisk together the sauce ingredients in advance and keep them refrigerated until you’re ready to cook. On the day of serving, simply sauté the marinated chicken, add the prepped vegetables and garlic, followed by the sauce, for a delicious dish that tastes just as fresh and vibrant as if made from scratch!
Expert Tips for Cashew Chicken
- Crispy Coating: Ensure the chicken is fully coated in cornstarch before cooking to achieve that perfect crispy texture and enjoy a flavorful cashew chicken experience.
- Vegetable Timing: Add vegetables like broccoli and bell peppers at the right moment to maintain their vibrant color and crisp-tender texture—overcooking can lead to mushiness.
- Sauce Balance: Adjust the honey and soy sauce to taste, tailoring sweetness and saltiness to your preference—this ensures your cashew chicken fits your family’s flavor profile wonderfully.
- Meal Prep Friendly: Chop your vegetables and prepare the sauce ahead of time for a quick assembly during busy weeknights—this saves time while still delivering a fresh homemade dish.
- Nutty Goodness: Use unsalted cashews to control the overall saltiness of the dish and appreciate the perfect balance of flavors in your homemade cashew chicken.

Cashew Chicken Recipe FAQs
What type of chicken works best for cashew chicken?
Absolutely! Boneless skinless chicken breasts are ideal for this cashew chicken recipe as they cook quickly and stay juicy. If you prefer a richer flavor, boneless chicken thighs are a fantastic alternative that adds a little extra moisture to the dish.
How do I store leftovers of cashew chicken?
Very simple! Store any leftovers in an airtight container in the fridge for up to 4-5 days. When you’re ready to enjoy it again, just reheat in a skillet over medium heat for about 5-7 minutes, ensuring everything is heated through and the flavors remain vibrant.
Can I freeze cashew chicken?
Of course! To freeze your cashew chicken, allow it to cool completely before transferring it to an airtight container or a freezer bag. It will keep well for up to 3 months. For reheating, just thaw it overnight in the fridge, and when ready to enjoy, heat it in a skillet for 5-7 minutes until warmed through.
Advertisement
What if my cashew chicken ends up too salty?
No worries! If you find that your cashew chicken is on the salty side, here’s a handy fix: add a little more honey to balance the flavors. If that’s not enough, you can also add extra vegetables to dilute the saltiness. Just remember to sauté them briefly to keep them crisp.
How can I customize vegetables in my cashew chicken?
The more the merrier! You can easily swap out broccoli for vegetables like snap peas, zucchini, or even carrots based on what you have on hand. Just keep an eye on cooking times, as different veggies may require slight adjustments to achieve that perfect crisp-tender texture.
Are there any dietary considerations I should be aware of?
Absolutely! This cashew chicken is not gluten-free due to soy sauce, but you can substitute with a gluten-free soy sauce or tamari for a delicious alternative. Additionally, ensure that the cashews are not a problem if you have nut allergies; if they are, you can leave them out and still enjoy the dish’s lovely flavors!
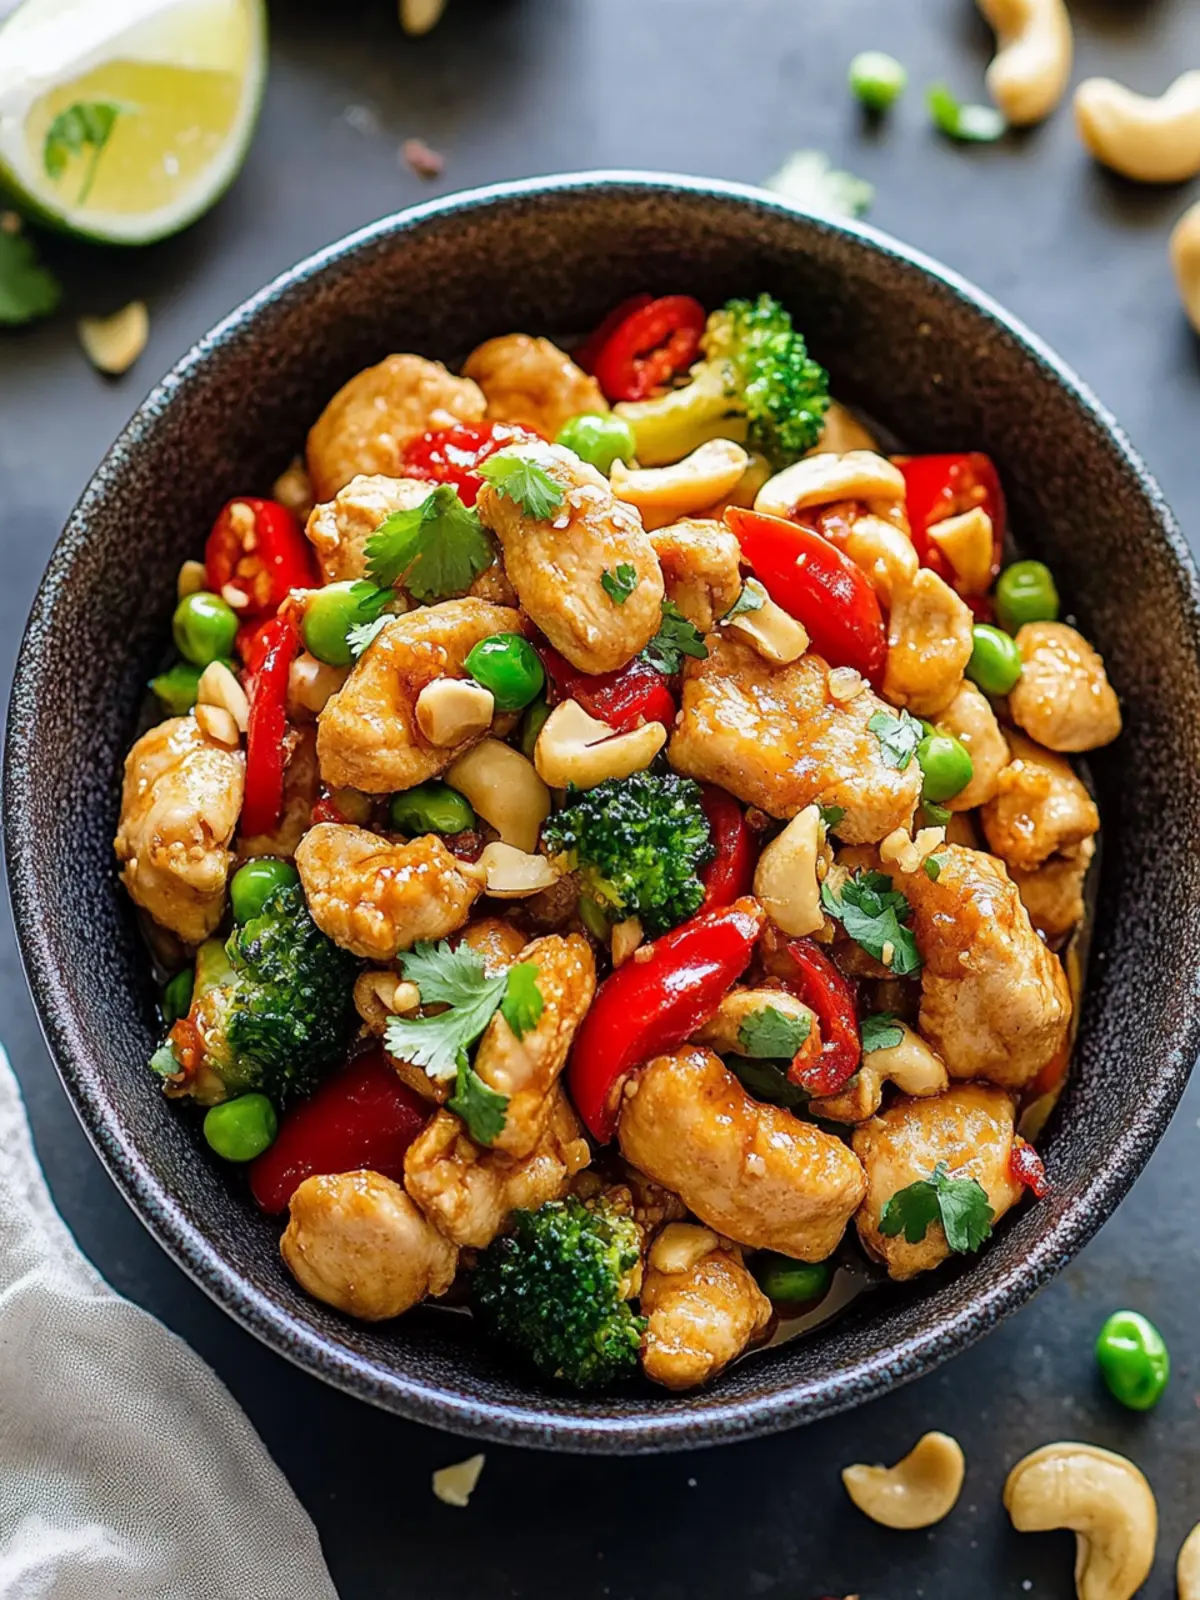
Quick Cashew Chicken That's Healthier and So Delicious
Ingredients
Equipment
Method
- In a zip-top bag, mix together cornstarch, salt, and pepper. Add the diced chicken to the bag, seal it tightly, and shake until the chicken is evenly coated.
- In a large skillet, heat sesame oil and olive oil over medium-high heat. Once hot, add the chicken and sauté for about 4-5 minutes, stirring frequently until the chicken is nearly cooked through.
- Toss in the broccoli, red bell peppers, frozen edamame, and minced garlic. Stir these ingredients together and continue to cook for an additional 3-4 minutes until the chicken and vegetables are fully cooked.
- In a separate bowl, whisk together the low-sodium soy sauce, honey, rice wine vinegar, chili garlic sauce, and ground ginger. Set this mixture aside.
- Add the unsalted dry-roasted cashews to the skillet. Pour the prepared sauce over everything, stirring to combine. Allow the mixture to simmer for 1-2 minutes until the sauce thickens slightly.
- Top your dish with sliced green onions, stir well to combine, and serve immediately.


